
14/02/2012: I have to remind myself that I’m not trying to develop a show car! I can be a little obsessive about detail when I get going. One of the pictures which I took for the headlight restore caught my eye. I didn’t use it in the end but here it is:

This thankfully, for the headlights, was the before (!) picture and they turned out great. The picture doesn’t only show how sorry the headlights were but it shows up the scuffs on the nose cone terribly! I don’t want to do anything that might make the car MOT unworthy (I almost broke the lights when refurbishing the headlights) but having a play with trying to get the worst of scuffs out only risks cosmetic problems.
I’ve read a ton of stuff on the net (almost none of it in agreement with itself!) and bought some T-Cut and some windowize (gentler than T-Cut and for restoring caravan windows). After about an hour of swirling away, first with the windowize and then with the T-Cut, I’d made absolutely zero progress! I took some advice from Abe on the forums. He’s recently restored his whole body work in a major refurb. It’s worth taking a look. He recommended something a bit more aggressive in terms of cutting. I don’t have a polisher, although ultimately I’d like to get a dual action, so opted for some 1,000, 2,000 and 2,500 auto wet and dry paper. I started with the 2,500 and got instant results. Here’s a before and after wet sanding:

BEFORE 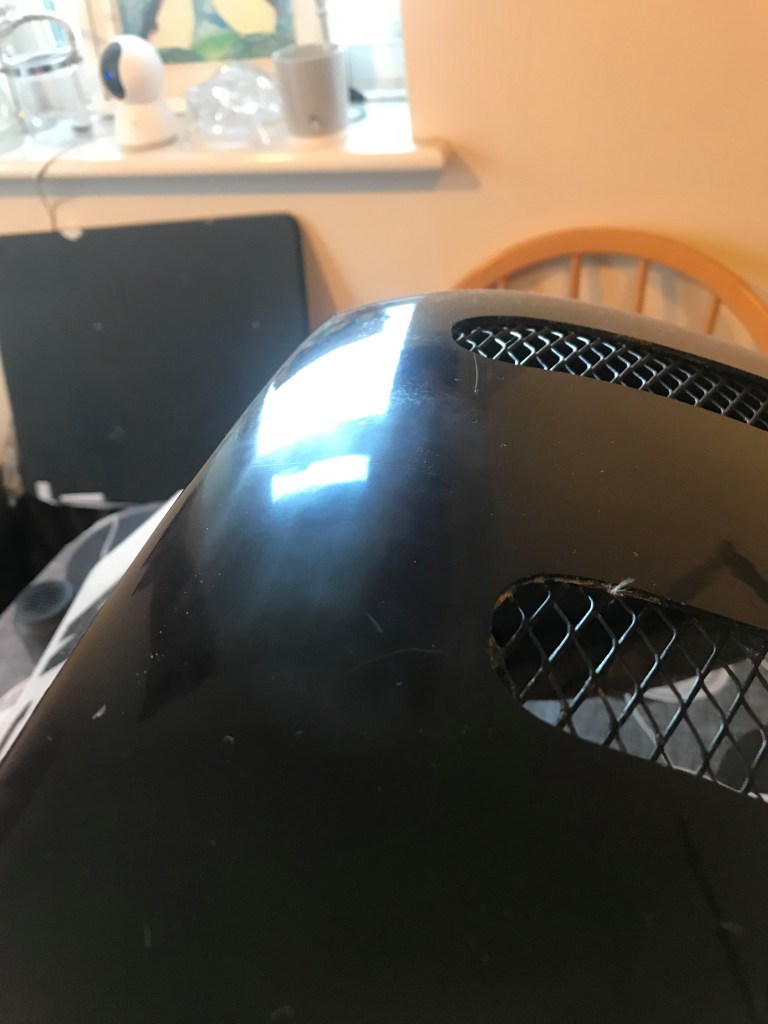
AFTER
This is a touch up exercise. Next winter I’ll probably do something a bit more ambitious (like Abe’s project). Because of this, and because I was feeling my way through the process a little, I was just targeting the worst of the scuffs.
You can see that I’m removed the scuffing (which is good!). However, I have two issues. The first is that there seems to be a top, clear coat of something very shiny. No matter how much I polish and/or wax the area I have tackled I can’t get the same quality of shine. This is compounded by the second issue which is the surface of my body work it really not level! It’s highly textured. In places with orange peel but everywhere else with a regular checked pattern of high and low areas. I can only assume this is the weave of the fibre glass which hasn’t been covered with something to smooth it out before paint. This makes blending the repaired and original areas almost impossible. The slightest touch of anything abrasive takes the top of the proud areas, revealing the pattern.
I’m a little worried if I sand the whole thing I’ll blow through the paint somewhere. However, I actually prefer the slightly more matt finish I’m getting after the sanding so it’s an option.
I popped to screwfix and picked up a polishing kit for the drill and then to Halfords for some polish and some wax. This helped a little:
BEFORE 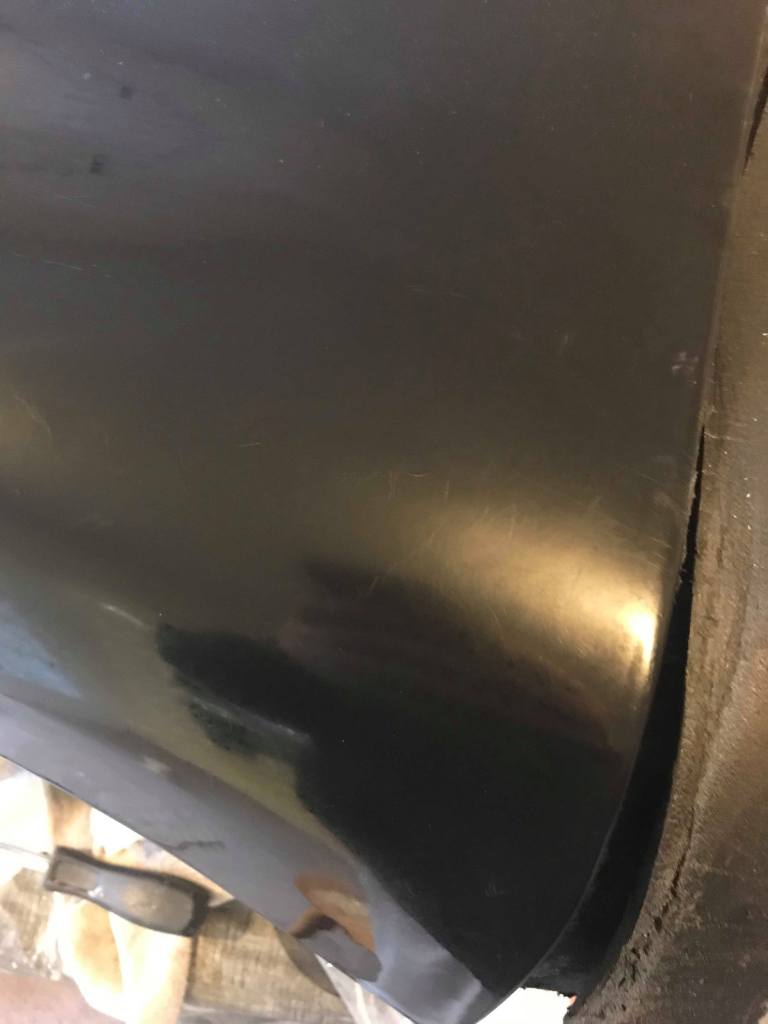
AFTER
I’m certainly making it better but the blending still isn’t great. Abe has suggested trying something a little more aggressive than the polish to get the surface shinier. I’ll order some 2,000 grit cutting compound in the next week or so.
16/02/2020: Okay, so I was bored today and wanted something to entertain me. I thought I’d just go all in on the nose cone. The pictures above were tests to see if I could improve the condition of the nose cone. I think they looked better enough to try and do something more comprehensive.
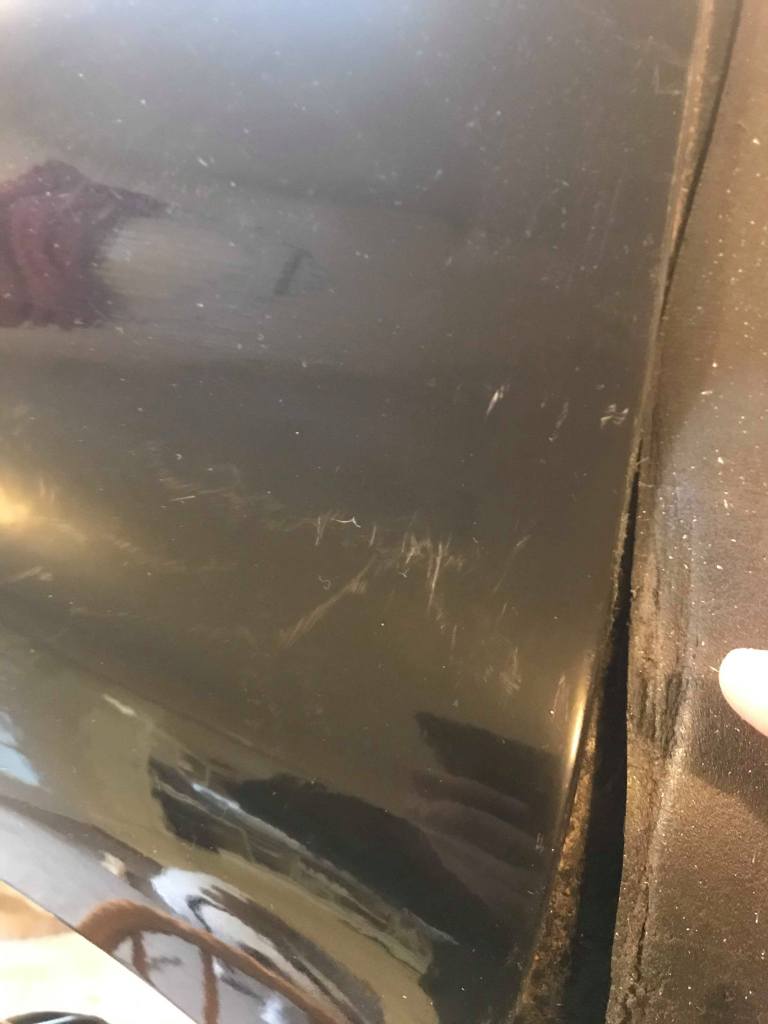
The plan was to sand the whole surface down to see if I could remove the texturing that seems to reflect the weave of the glass fibre underneath. First I used 1,000 and then 2,500 grit wet and dry using plenty of water and checking often that I wasn’t doing any damage to the surface underneath. I grabbed a picture half way through that really clearly shows the ‘patterning’ from the high and low spots:

I kept patiently working away and after about 90 minutes I’d sanded the whole surface down and removed all of this texturing. There were a few spots of orange peel texture near the grill and a number of deeper scratches. The orange peel disappeared no problem. Some of the scratches were a bit more stubborn. There were a few deep enough that I couldn’t removed them totally. That’s fine this is just a spruce up ahead of a more thorough bodywork project in the next 18 months or so.
I must admit halfway through I was pretty nervous. The nose cone had gone pretty grey! It was very smooth though:

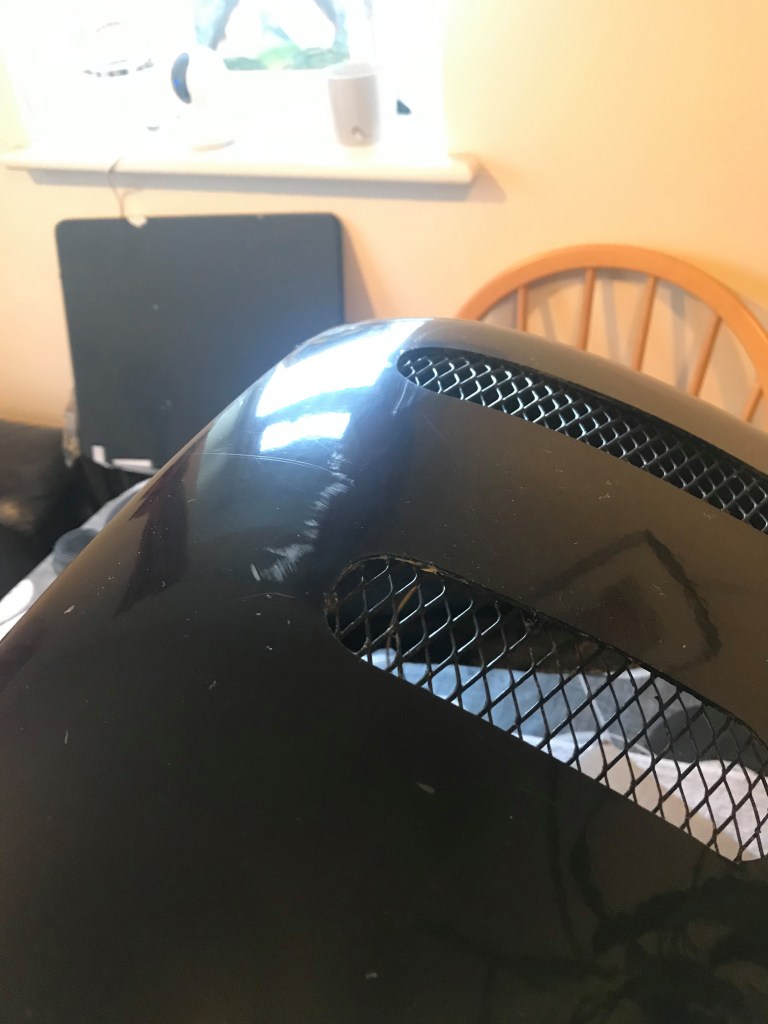
Once the wet and dry was finished I cracked out the 125mm soft sponge pad I’ve bought for my drill. I have three different compounds to use, starting with T-Cut. To be honest, I think I should be using a stiffer pad or a more aggressive compound. Nevertheless, the shine is on it’s way back. My drill has run out of battery so I’m waiting for it to charge up. Here’s one side of the cone that I’ve worked for ten minutes or so:

I’m quite excited to see the finish once I’ve used polish and then wax. Certainly a major improvement. During the process I’ve identified a few of the inevitable star shaped cracks:

These happen from stone impacts and almost all fibreglass bodied cars have them. My nosecone isn’t too bad. There’s a couple of stars and a small amount of straight cracks at some of the 90 degree corners. The process I’m doing at the moment won’t fix these. It would have to be something more aggressive. I’ll post a few more pictures up once I’ve finished (or something else has gone wrong!).
20/02/2020: So success to report. I polished and waxed (two coats) and the nose cone has come out great.


I’m really pleased with the results. It isn’t flawless but a big improvement.
20/02/2020: This job is done!
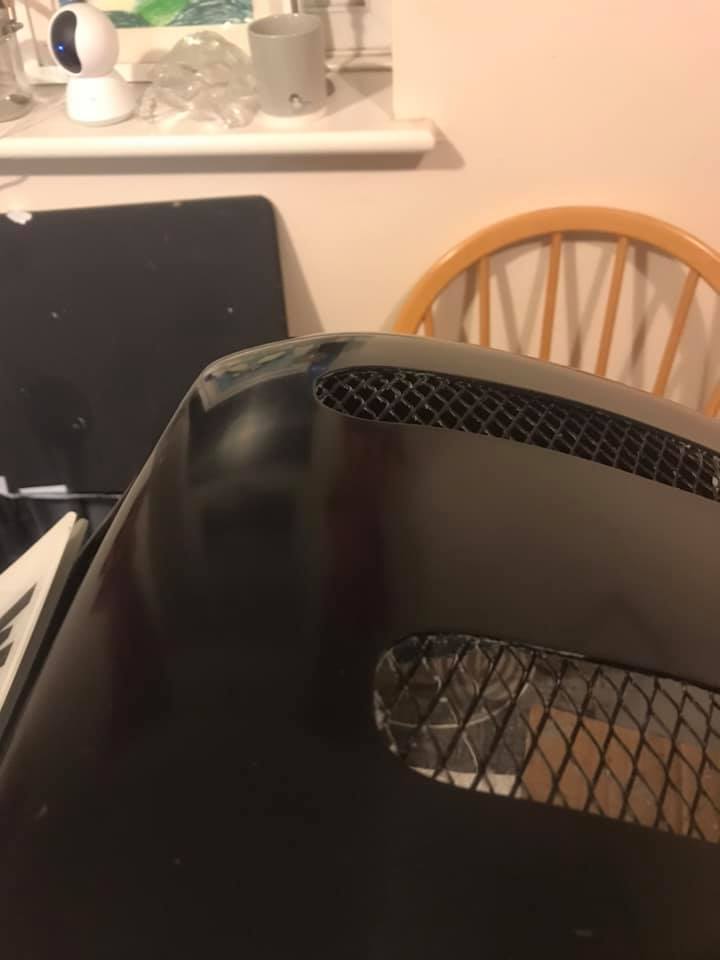
18/03/2021: I couldn’t help but revisit this task a little! As you can see from the picture above the foam insert that the hood rests on was pretty tatty and falling away. I’ve bought new and have cut new pieces. It also turned out the wax was covering quite a dull surface in the pictures above. On further investigation I’ve bought some of this stuff:
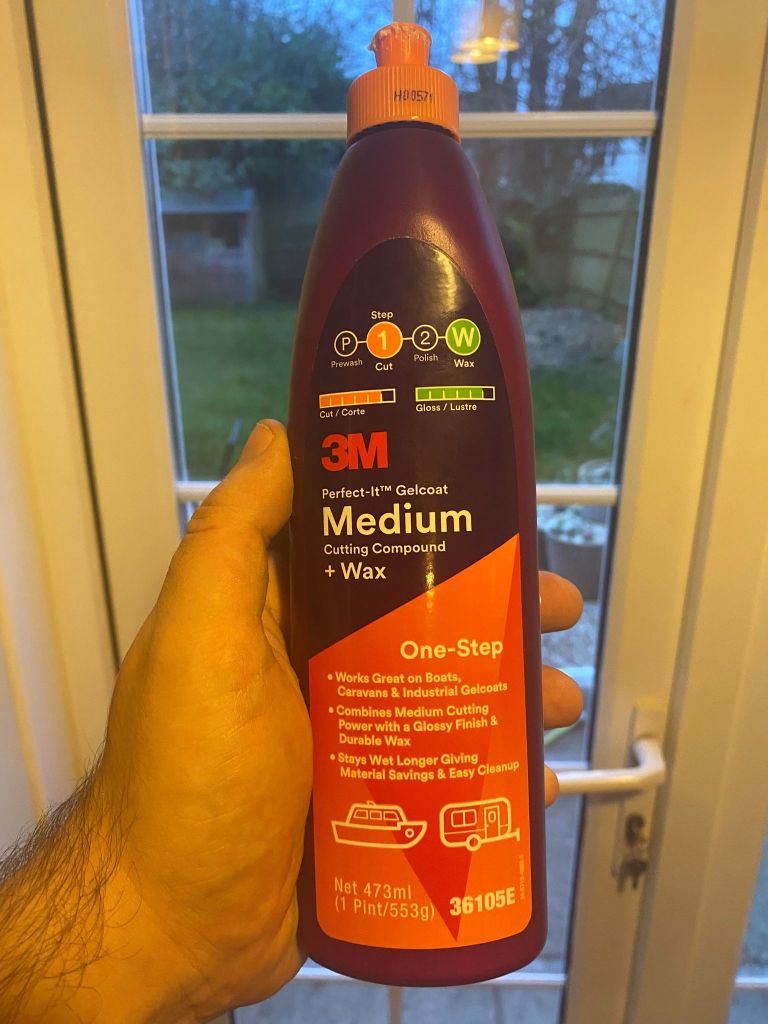
It’s great! Using a polishing bonnet with a medium sponge on the drill, and after taking some time going over, the lustre was returned to the finish!


I know that there’s no difference in the pictures but trust me there is in the flesh.
I’m now planning to respray the mesh black along with the brackets for the number plate. I’ll update with some pictures when I’m done.
