
02/11/2019: Okay so the sinners in this story are some paint chips on the chassis (and wishbones) and exposed metal work where rust had begun to set in. Nothing more than surface at the moment but worth spending a bit of time cleaning up.
I’m new to painting metal and tidying up rust so I’ve set my sights on an achievable goal to start. The front most crossmember on the chassis was pretty easy to get to and had the worst rust. Makes sense as this is in prime firing line for stones and at some point two brackets have been cut off with no protection applied.
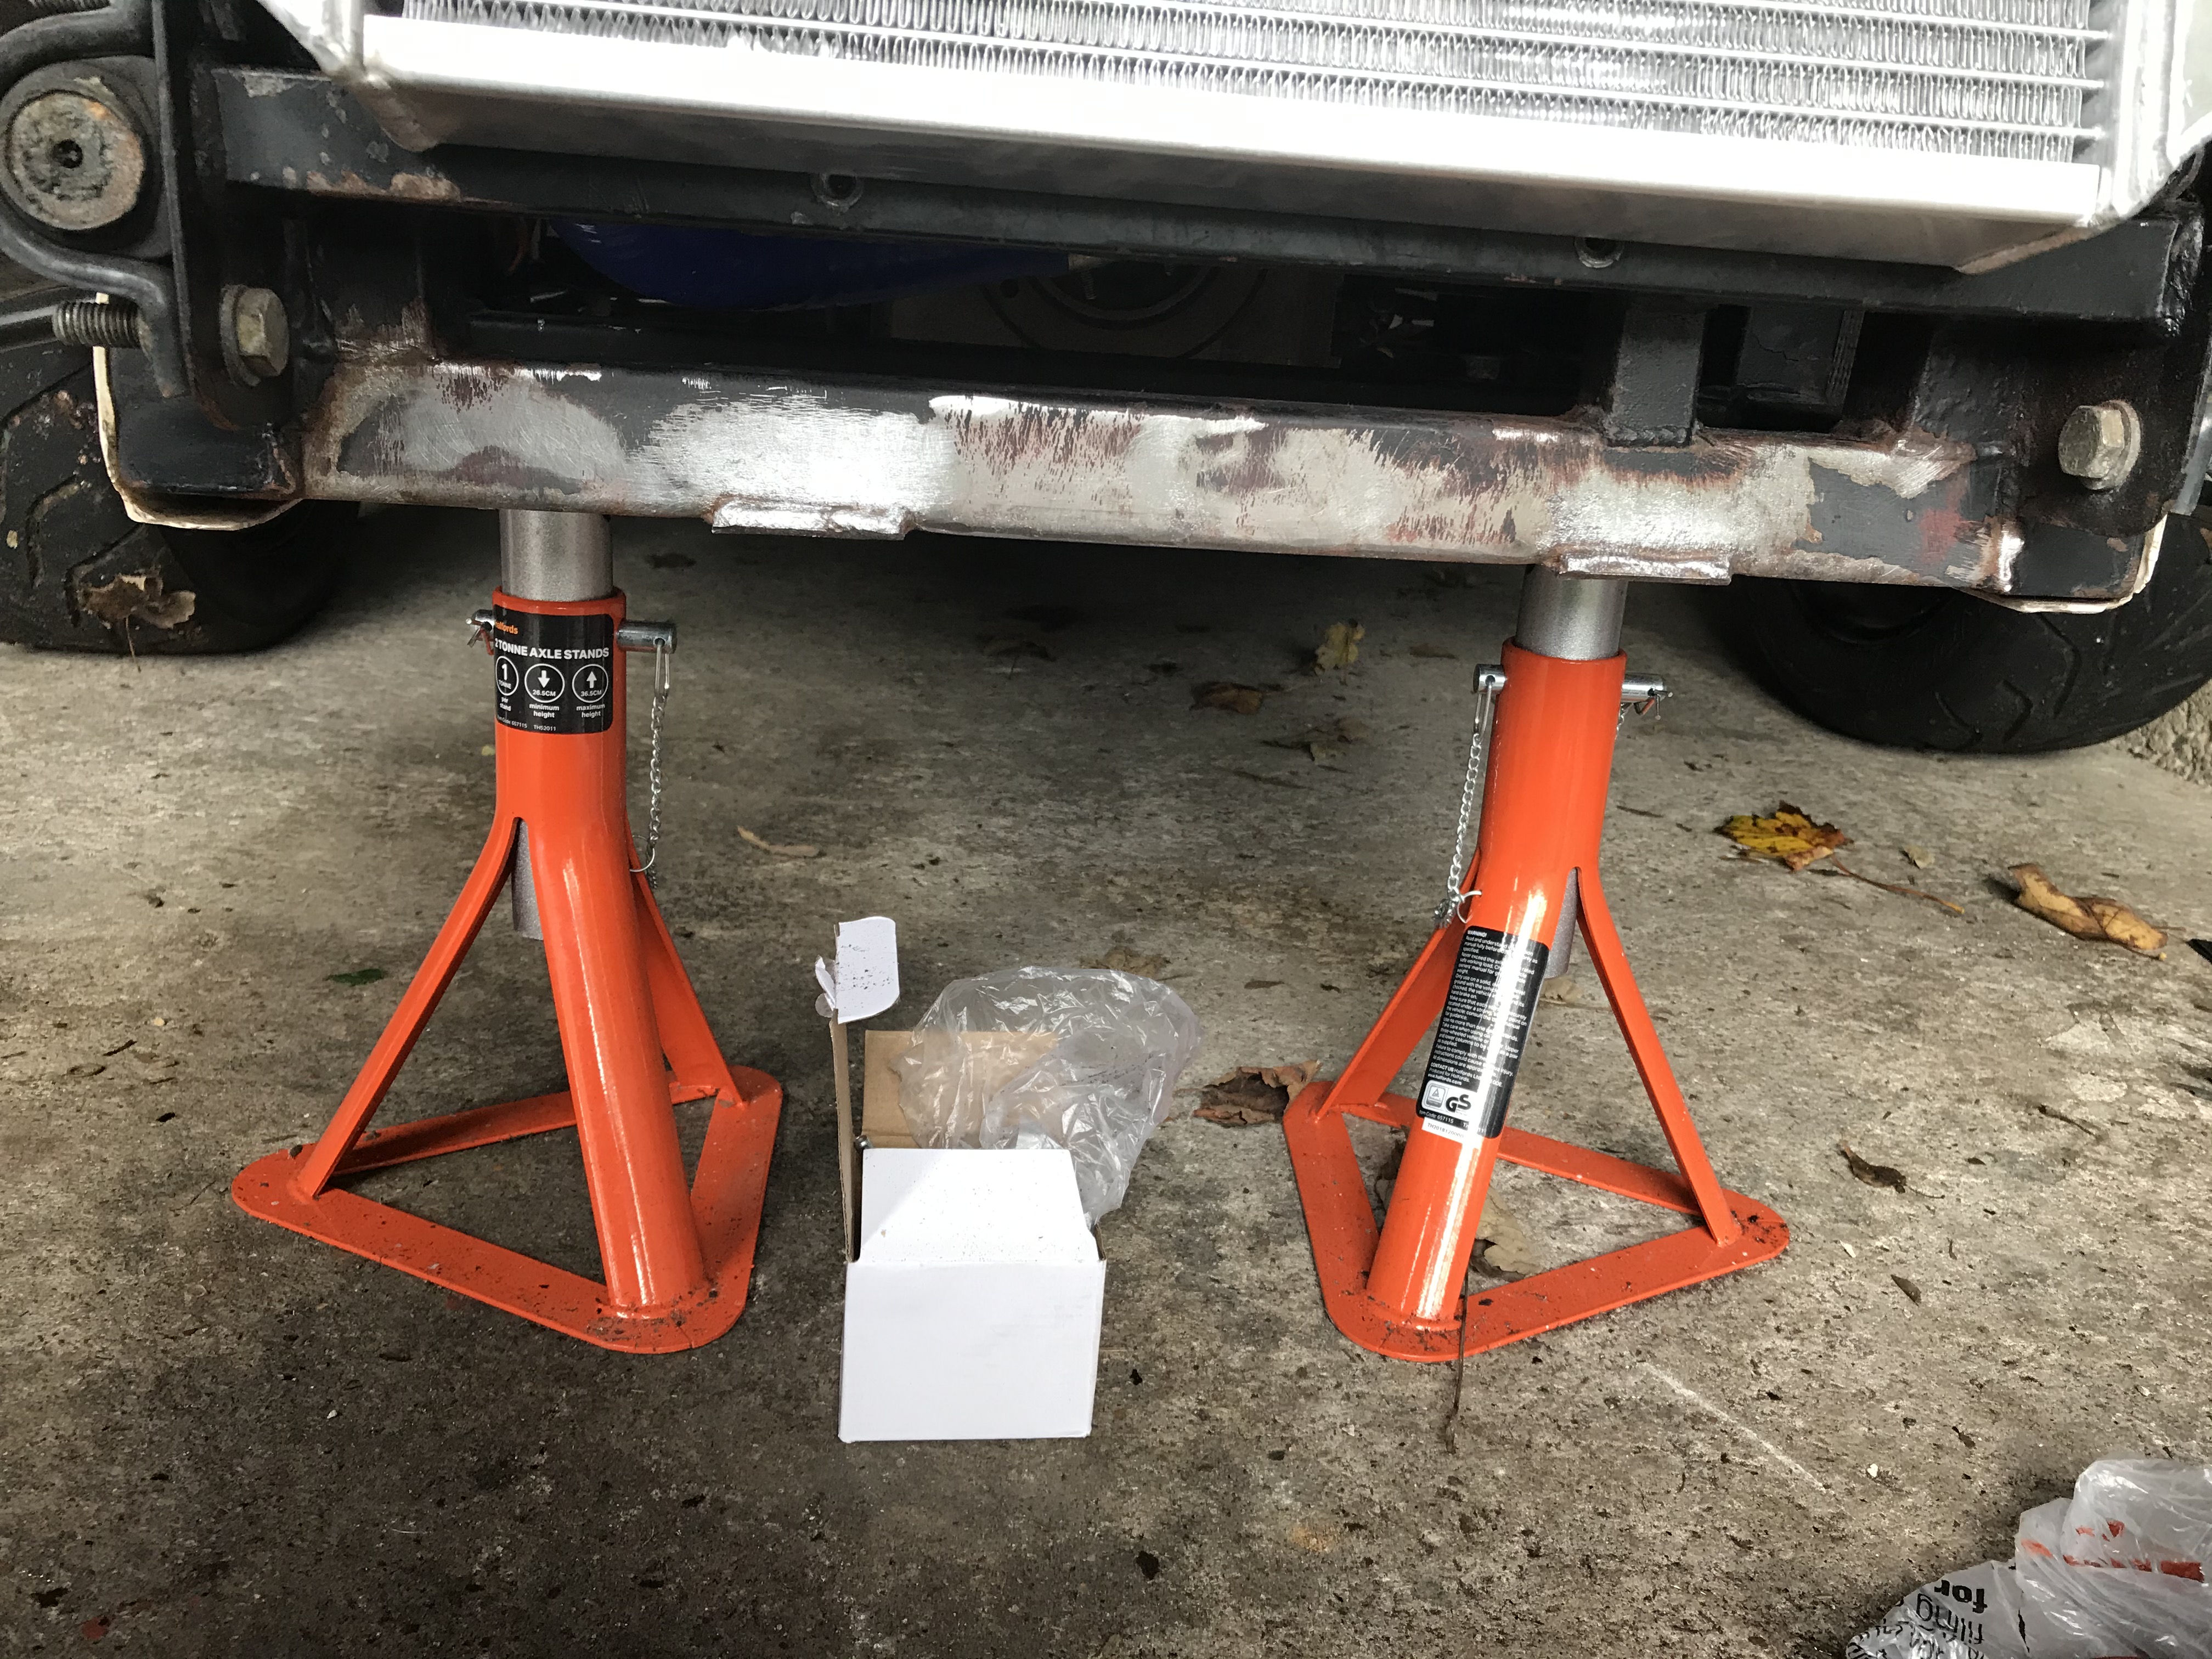
Here’s a few pictures before I started:


The picture in the middle gives you some context of where the rail is and the picture either side is a close up of where the bracket has been cut off and the rust is setting in.
First step was to use a wire brush attachment on a drill to remove as much rust and old paint as possible. It was a little awkward and perhaps I should have done this with the radiator out but I think I got enough of the rust off leaving either bare metal or well scuffed up good paint.

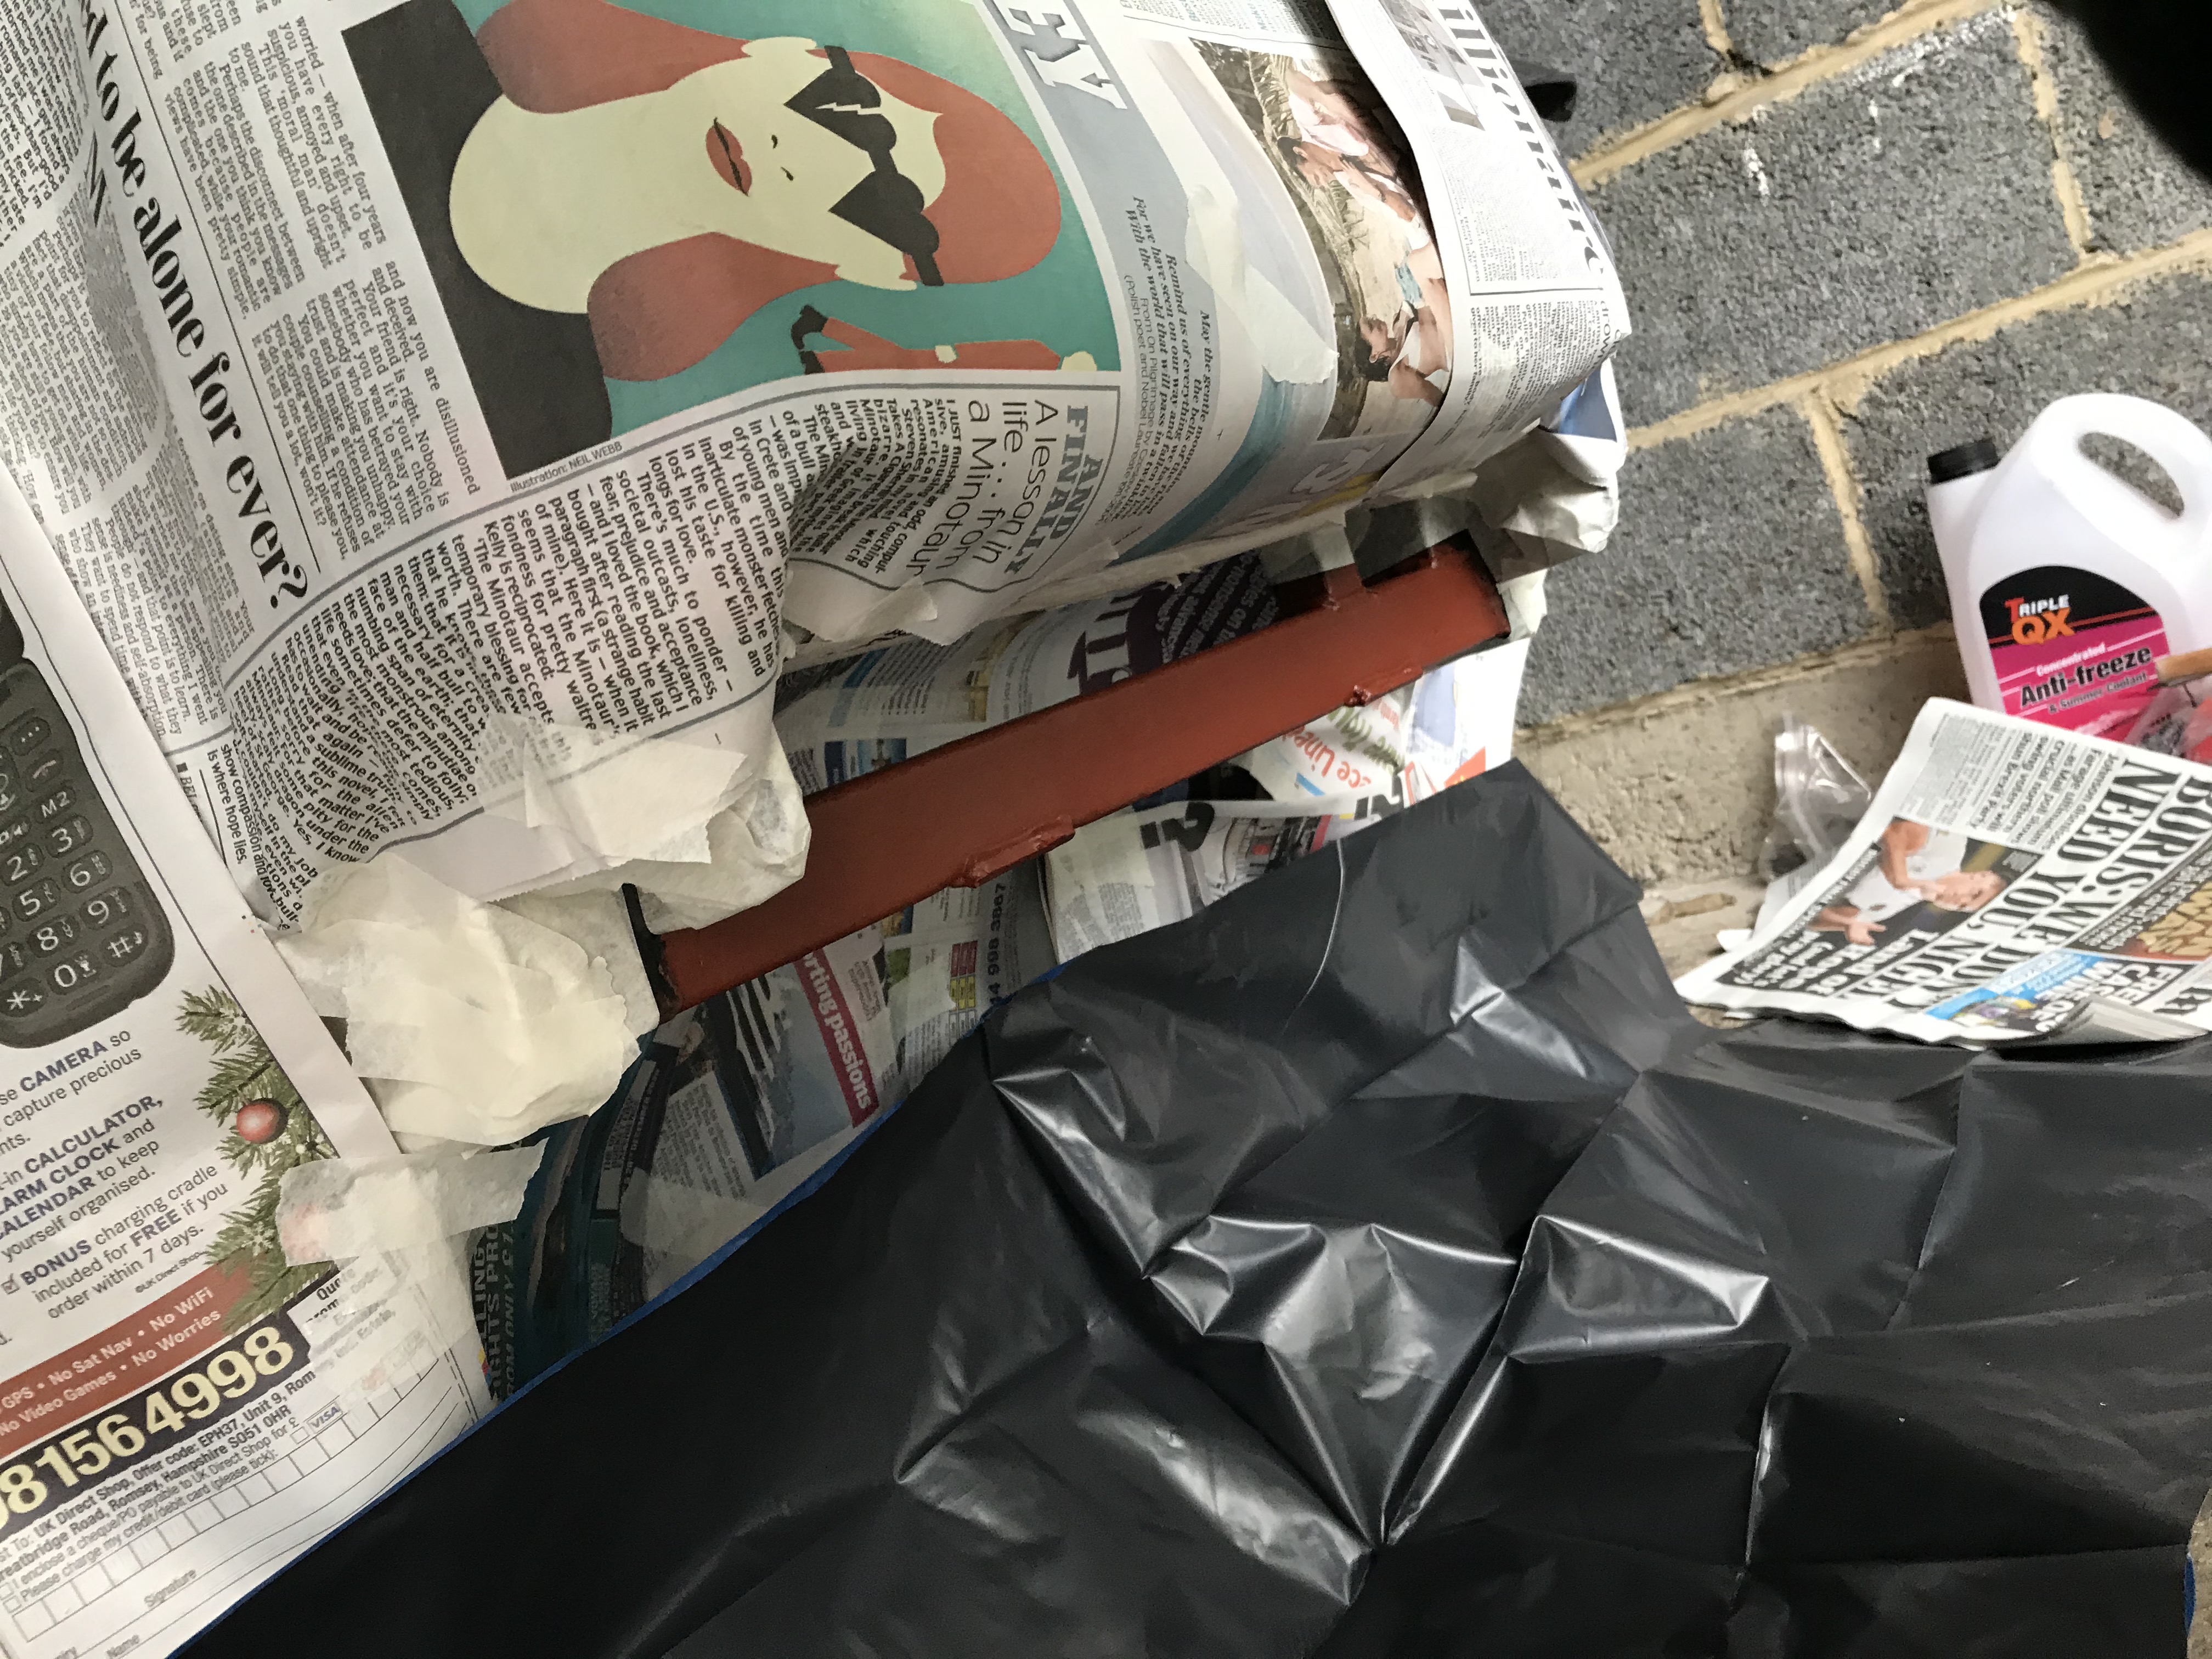
I then used a Hammerite Rust Beater which destroys rust and primes at the same time. It’s applied with a brush and was straight forward to do. I chose red so that I could see where I was applying it. Before I applied the primer I cleaned the surface thoroughly with white spirits.


It went on smoothly enough but now needs 6 hours to dry. I’ll pop down to the garage tomorrow to add another coat and then finishing spraying next weekend.
I have a black undercarriage sealant which is manufactured with added polymers to make the paint flexible. The idea is that the coating can absorb the impact of stones without chipping. I’m looking forward to seeing the finish I get.
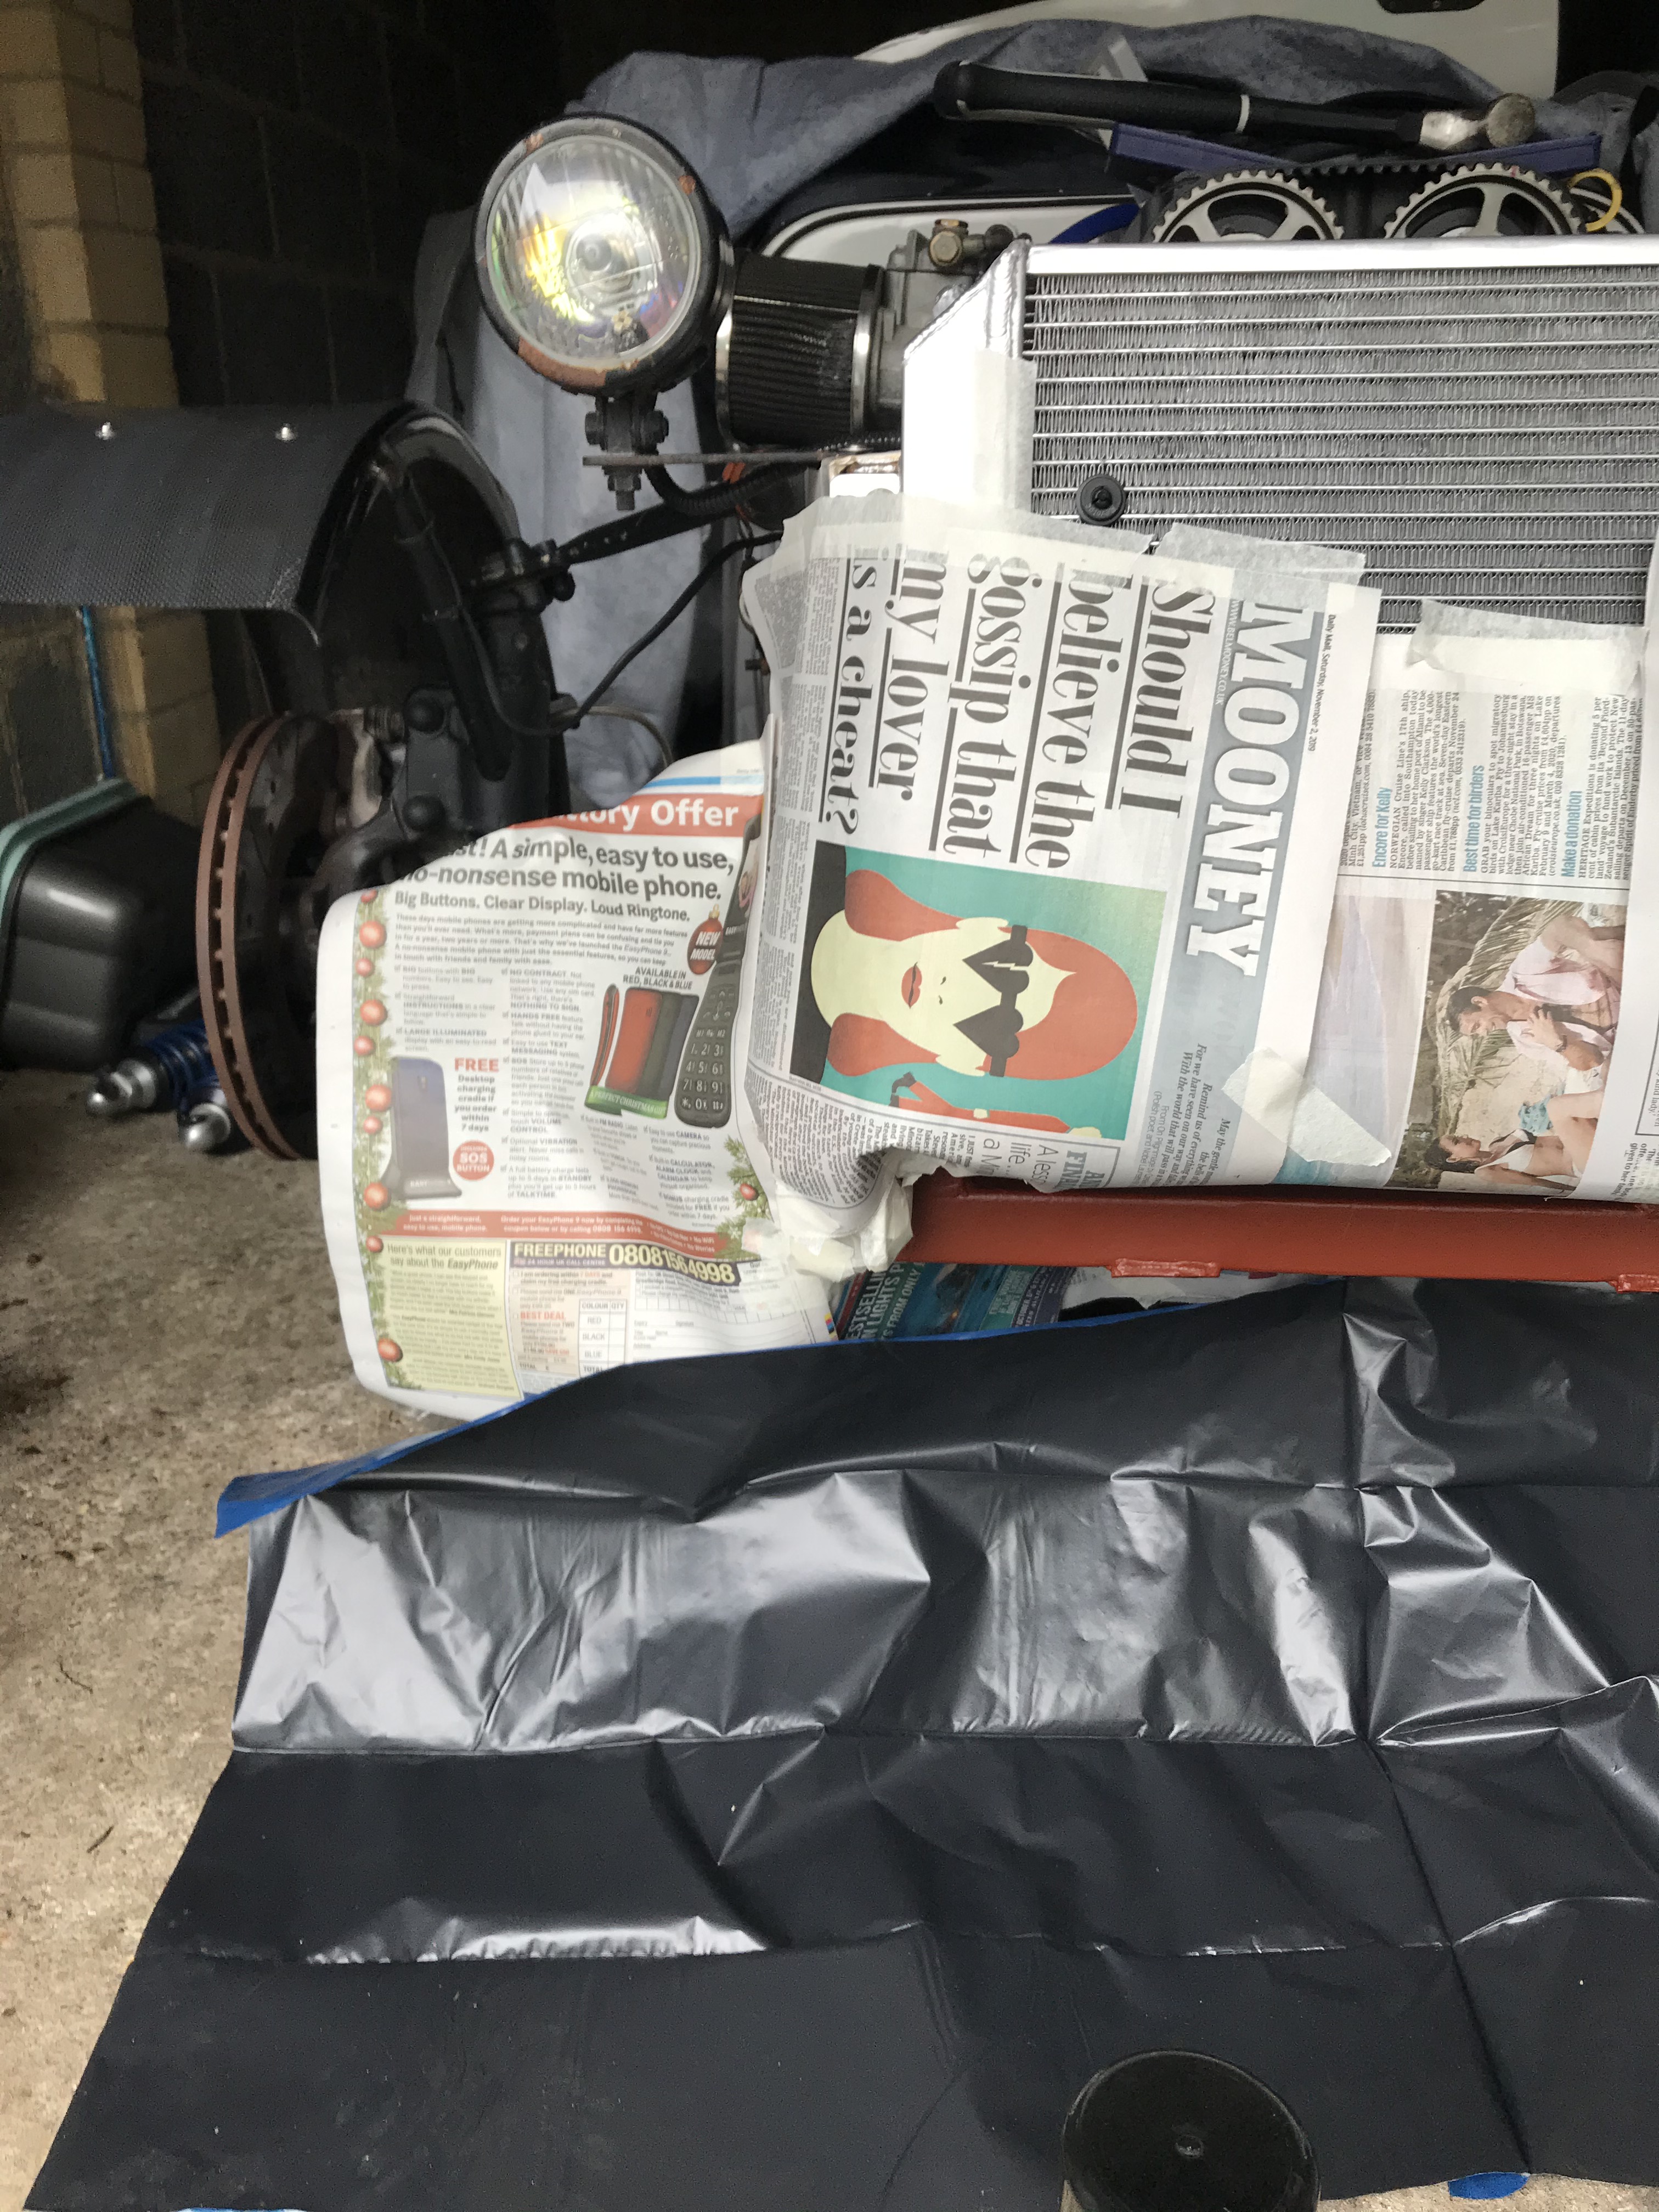
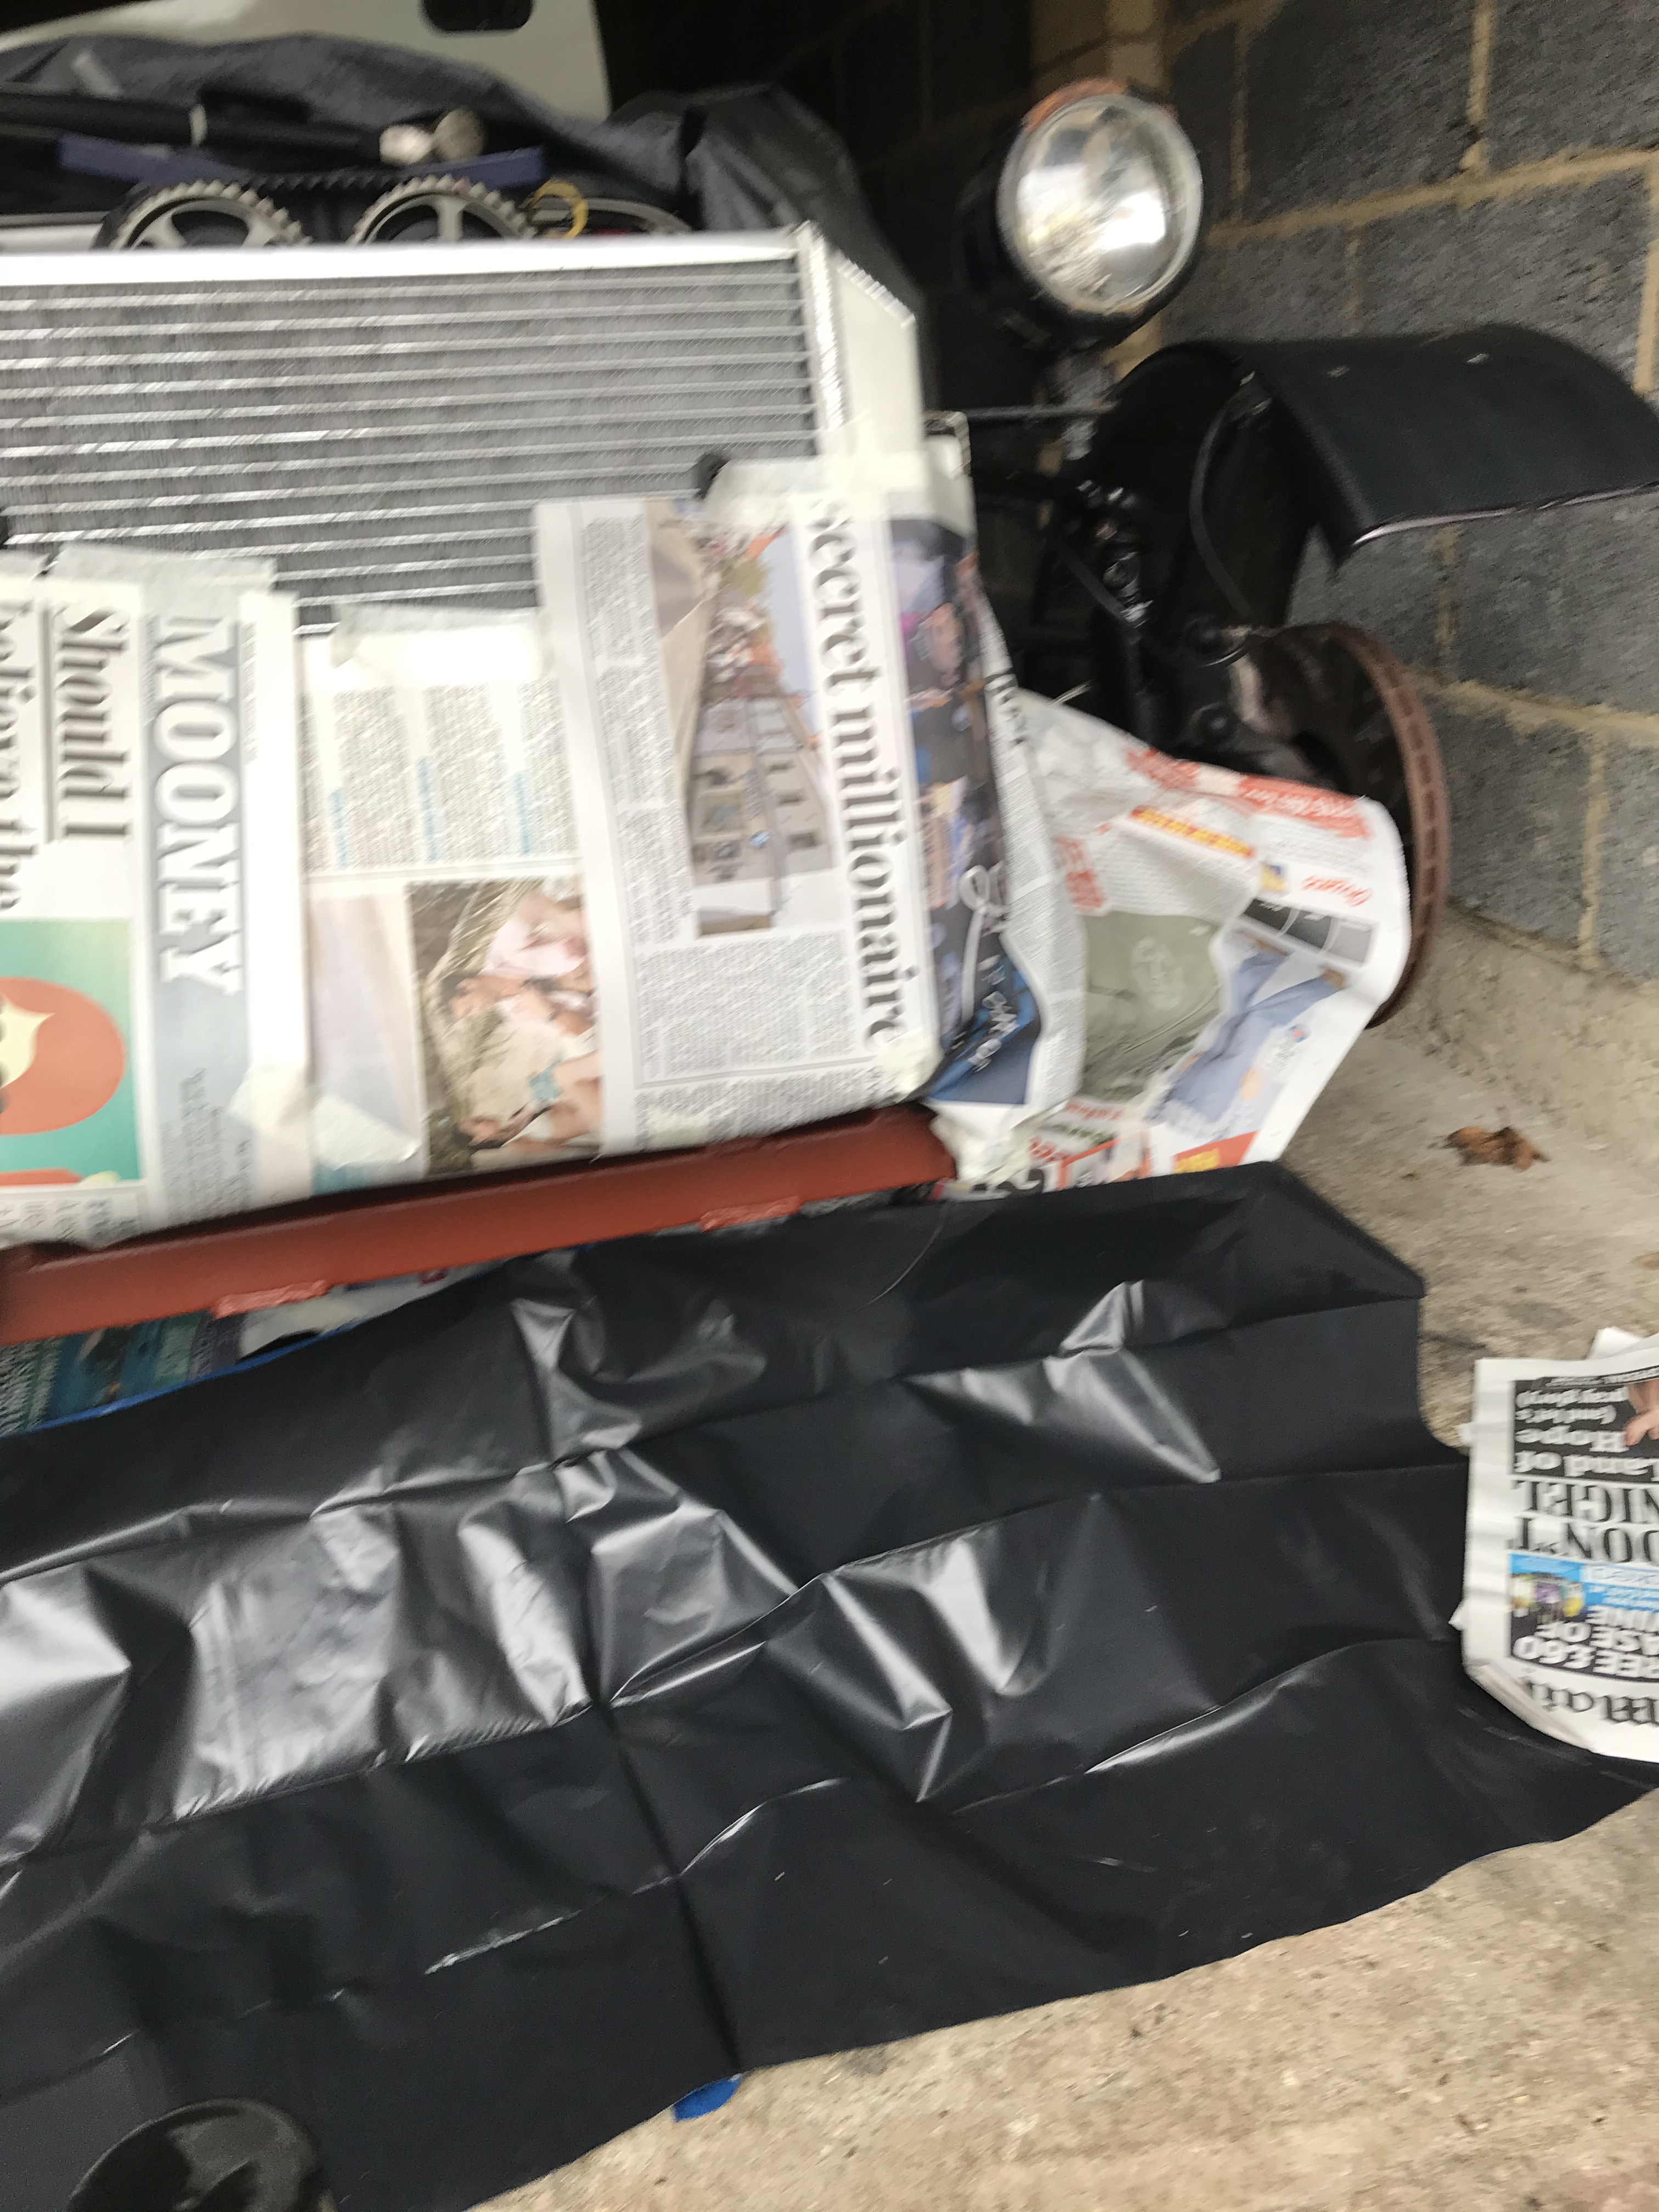
09/11/2019: So I was back down to the garage this morning. It took me well over at hour, probably closer to two, to mask off the car for the spray. I was very pleased with the work though:
I then applied the top black coat with added rubber. I had to shake the can for 3 minutes. This sounds like nothing but trust me my arms were close to falling off! I’d kept the paint in the house over night so that it wasn’t too cold. The car was freezing though. It said leave 1-2 hours between coats. I decided to let it dry overnight.
I’ll use the same excuse here that I did on the shock page… because I was working on a number of jobs at the same time I forgot to take pictures. I’ll grab some tomorrow and update the page.
This is my first attempt at this type of work. The paint was a little more textured than I expected but it went on with no runs and with pretty even coverage. Given the awkwardness of the location I was spraying I was pleased. I’m not sure that I would want that finish all over the chassis. However it makes sense, to me (!), that on this very front cross member, which must get quite a few stone strikes, to put a slightly more robust paint.
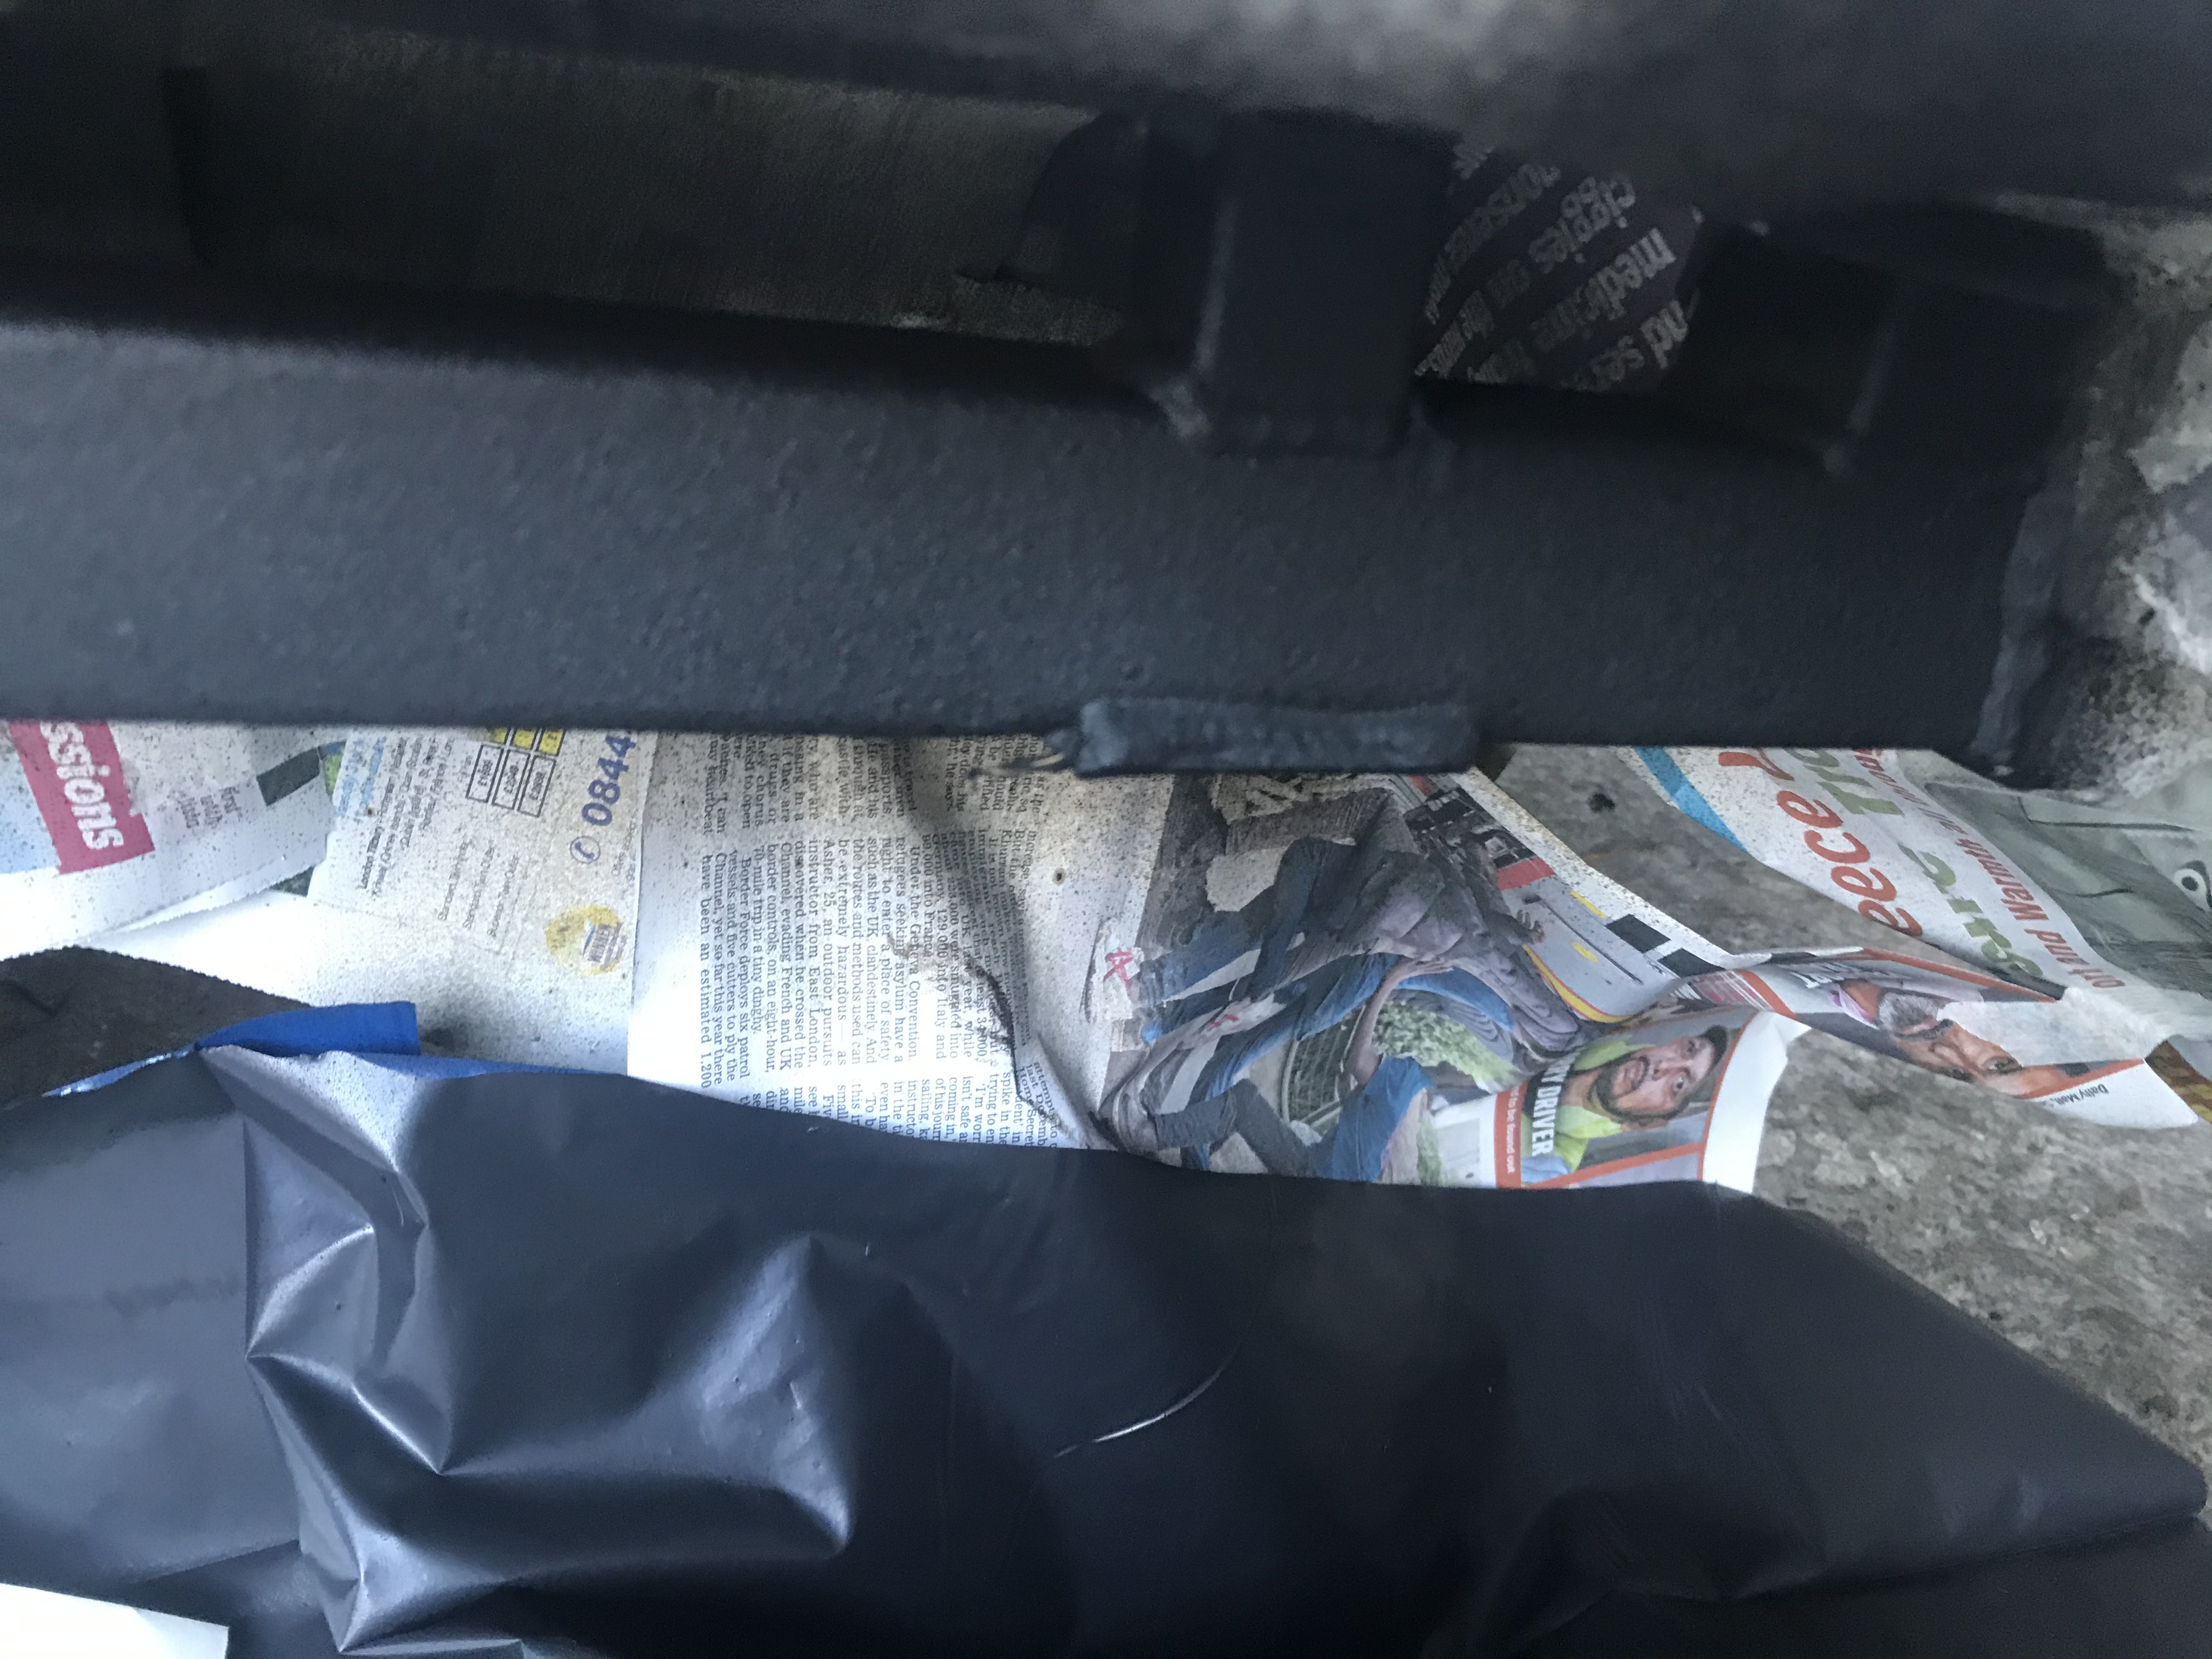
10/11/2019: So I promised some pictures of my handiwork and here they are:


I was really pleased with the finish. It’s easier to see if I put the picture from the top next to one of the ones above:

It’s a 1000 times better. There is a big however though! After almost 30 hours the paint was still tacky! I think I have to admit defeat and realise that painting in an unheated garage approaching winter time in the UK is never going to work! This is a summer job. I’ll pick it back up once the weather improves.
I might well have to strip all of this paint off as I popped the nose cone back on and took her out. I’m sure that I’ve marked the paint up. The primer was well dried though so the chassis rail is in a better state that it was. Not a big deal and I’m satisfied that I can fix the small bits and pieces of surface rust. I think I might strip the wishbones at some point as they are a bit unsightly.
For now, I’m putting this job back on the to do list until the weather picks up.
