Some exploration…

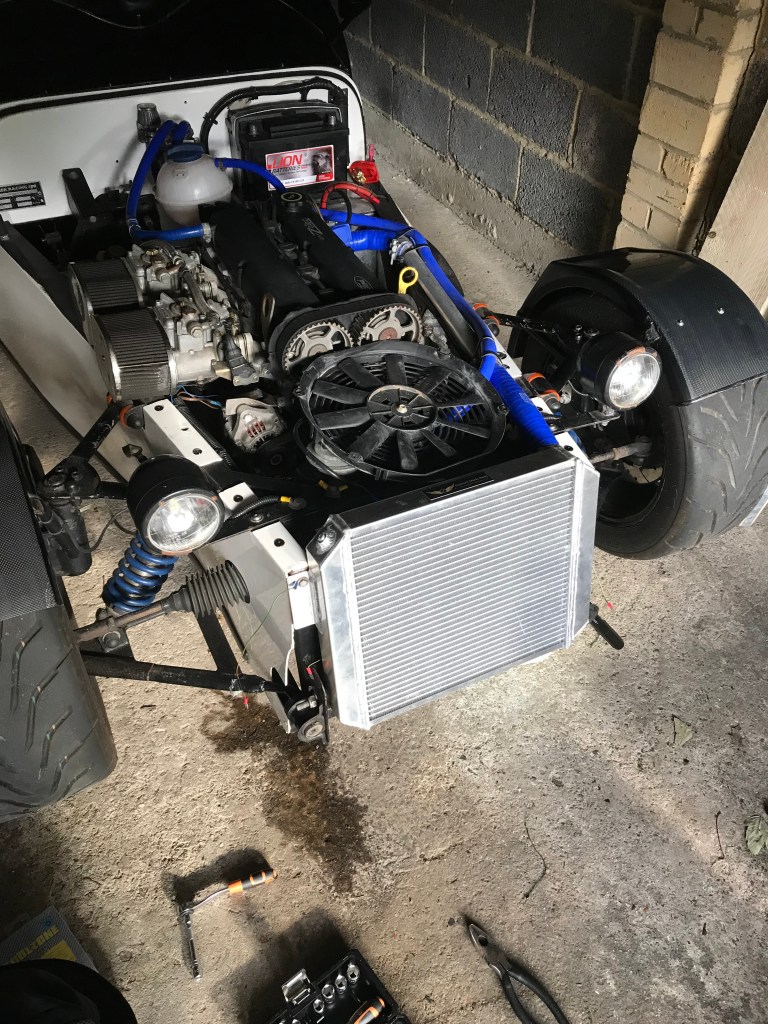
So buying a kit car that has little build history is like doing automotive archaeology. I’m slowly working my way through the car from front to back figuring out what’s in there, fixing any issues and upgrading where I can afford! O… and I’m learning a lot too!

I spent more than a couple of hours down at the garage this morning after the disappointment of the rugby (Rugby Union World Cup defeat to SA). I posted the front shocks off yesterday to be serviced and repaired so I’m really looking for jobs to entertain myself that don’t cost too much and don’t stop me driving the car (when I get the shocks back on I’ll want to shake the car down to make sure it’s all back together properly).

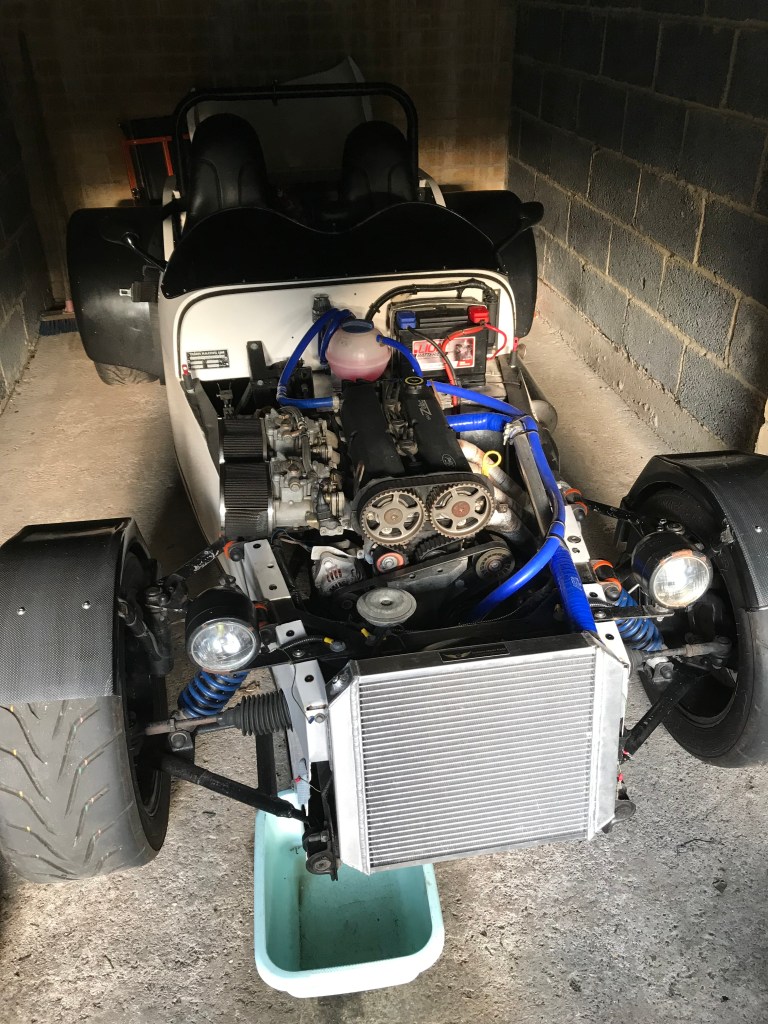
I decided to tackle some of the surface rust on the chassis but this turned out to take less time than I expected so I went poking about the rear end of the car.

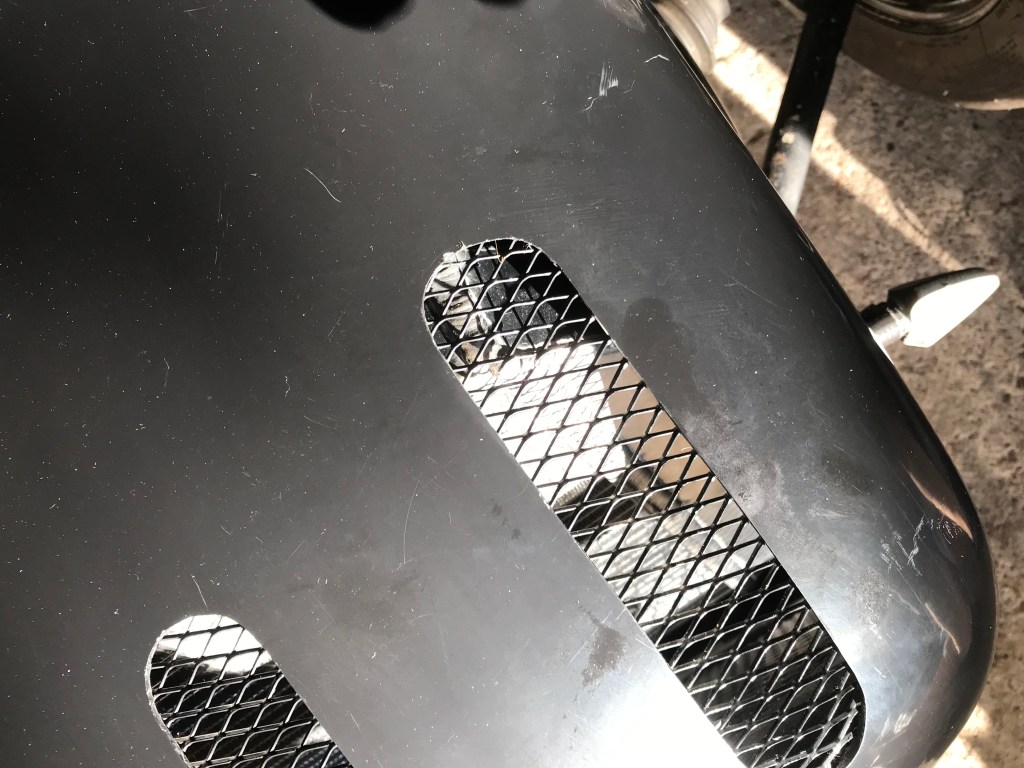
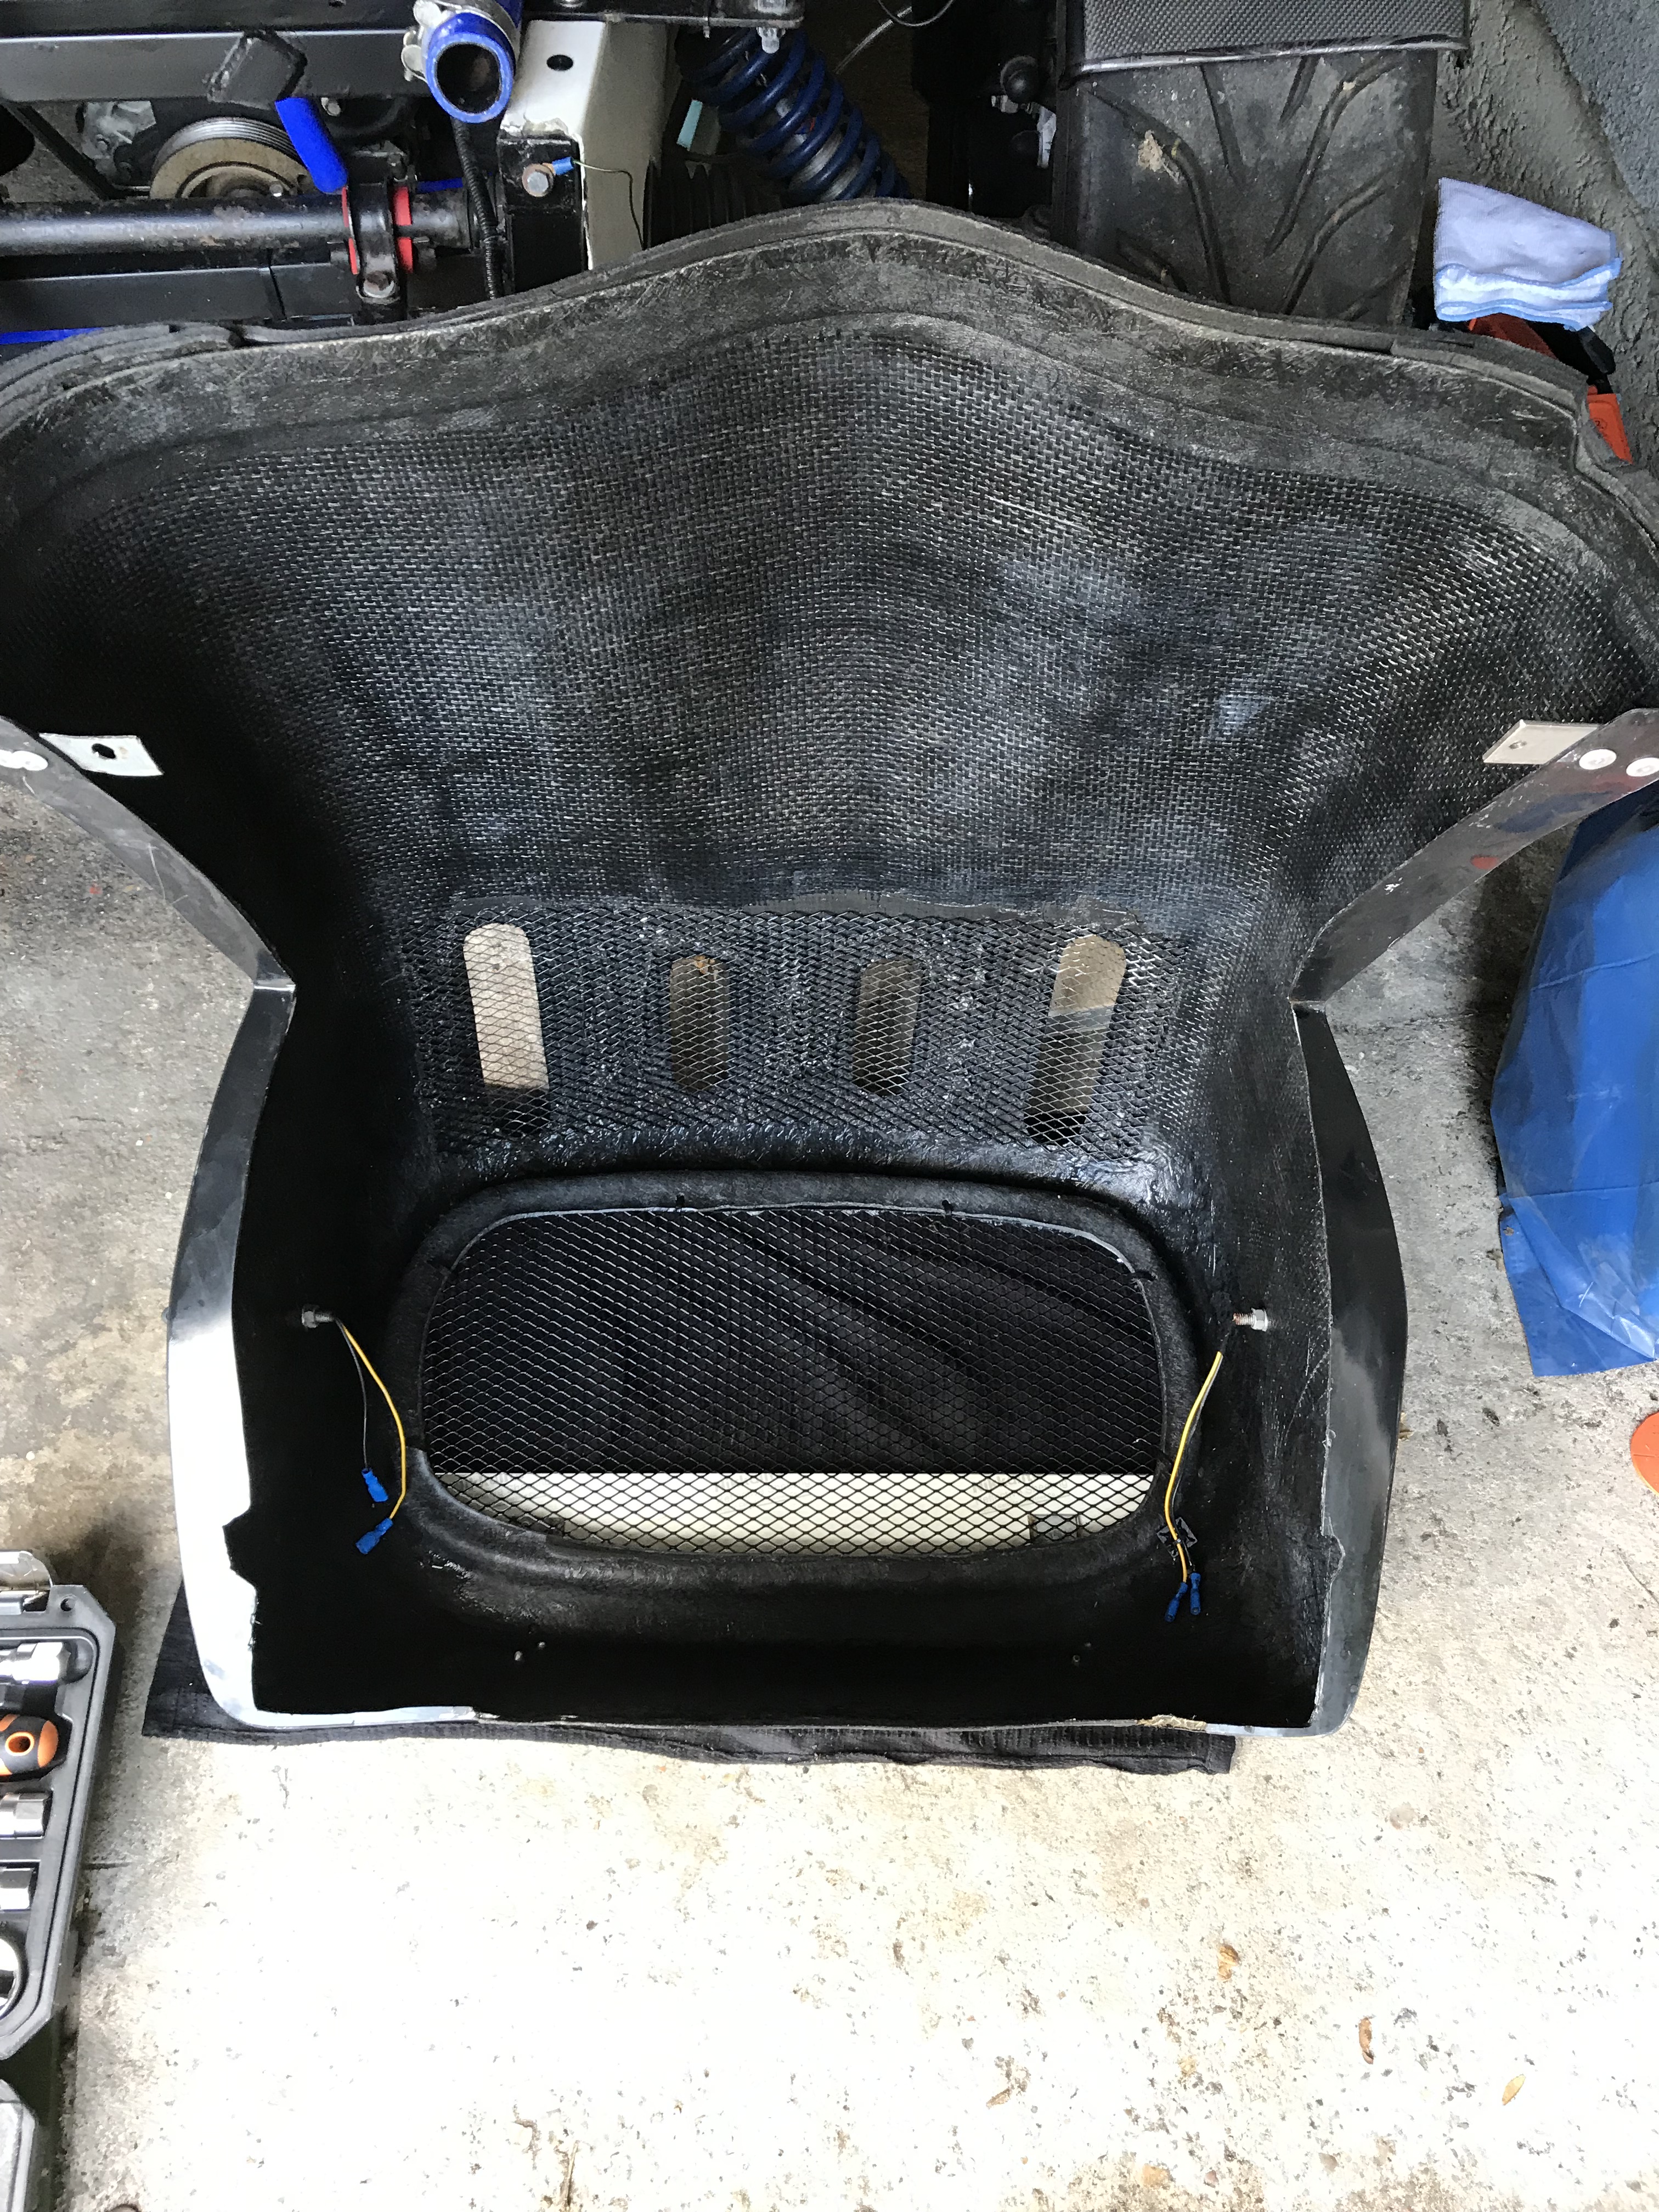
I removed the top rear panel:

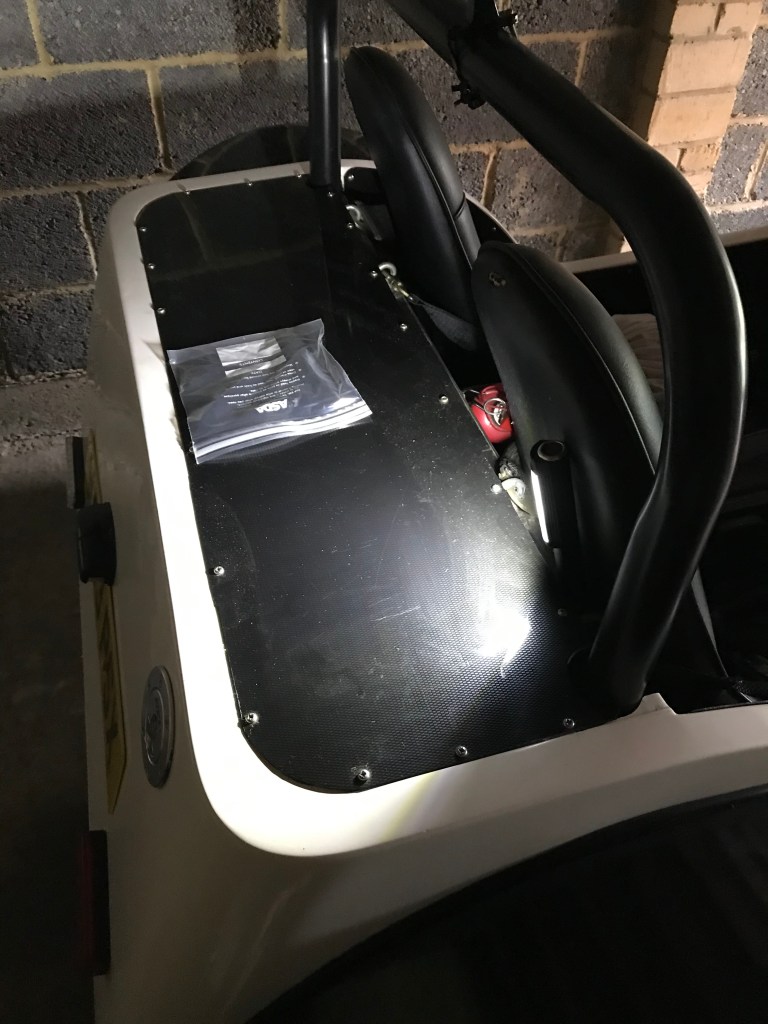
This allowed me to see the rear end of the car easily:

It’s my first poke around at the back so I took my time to identify what I could.

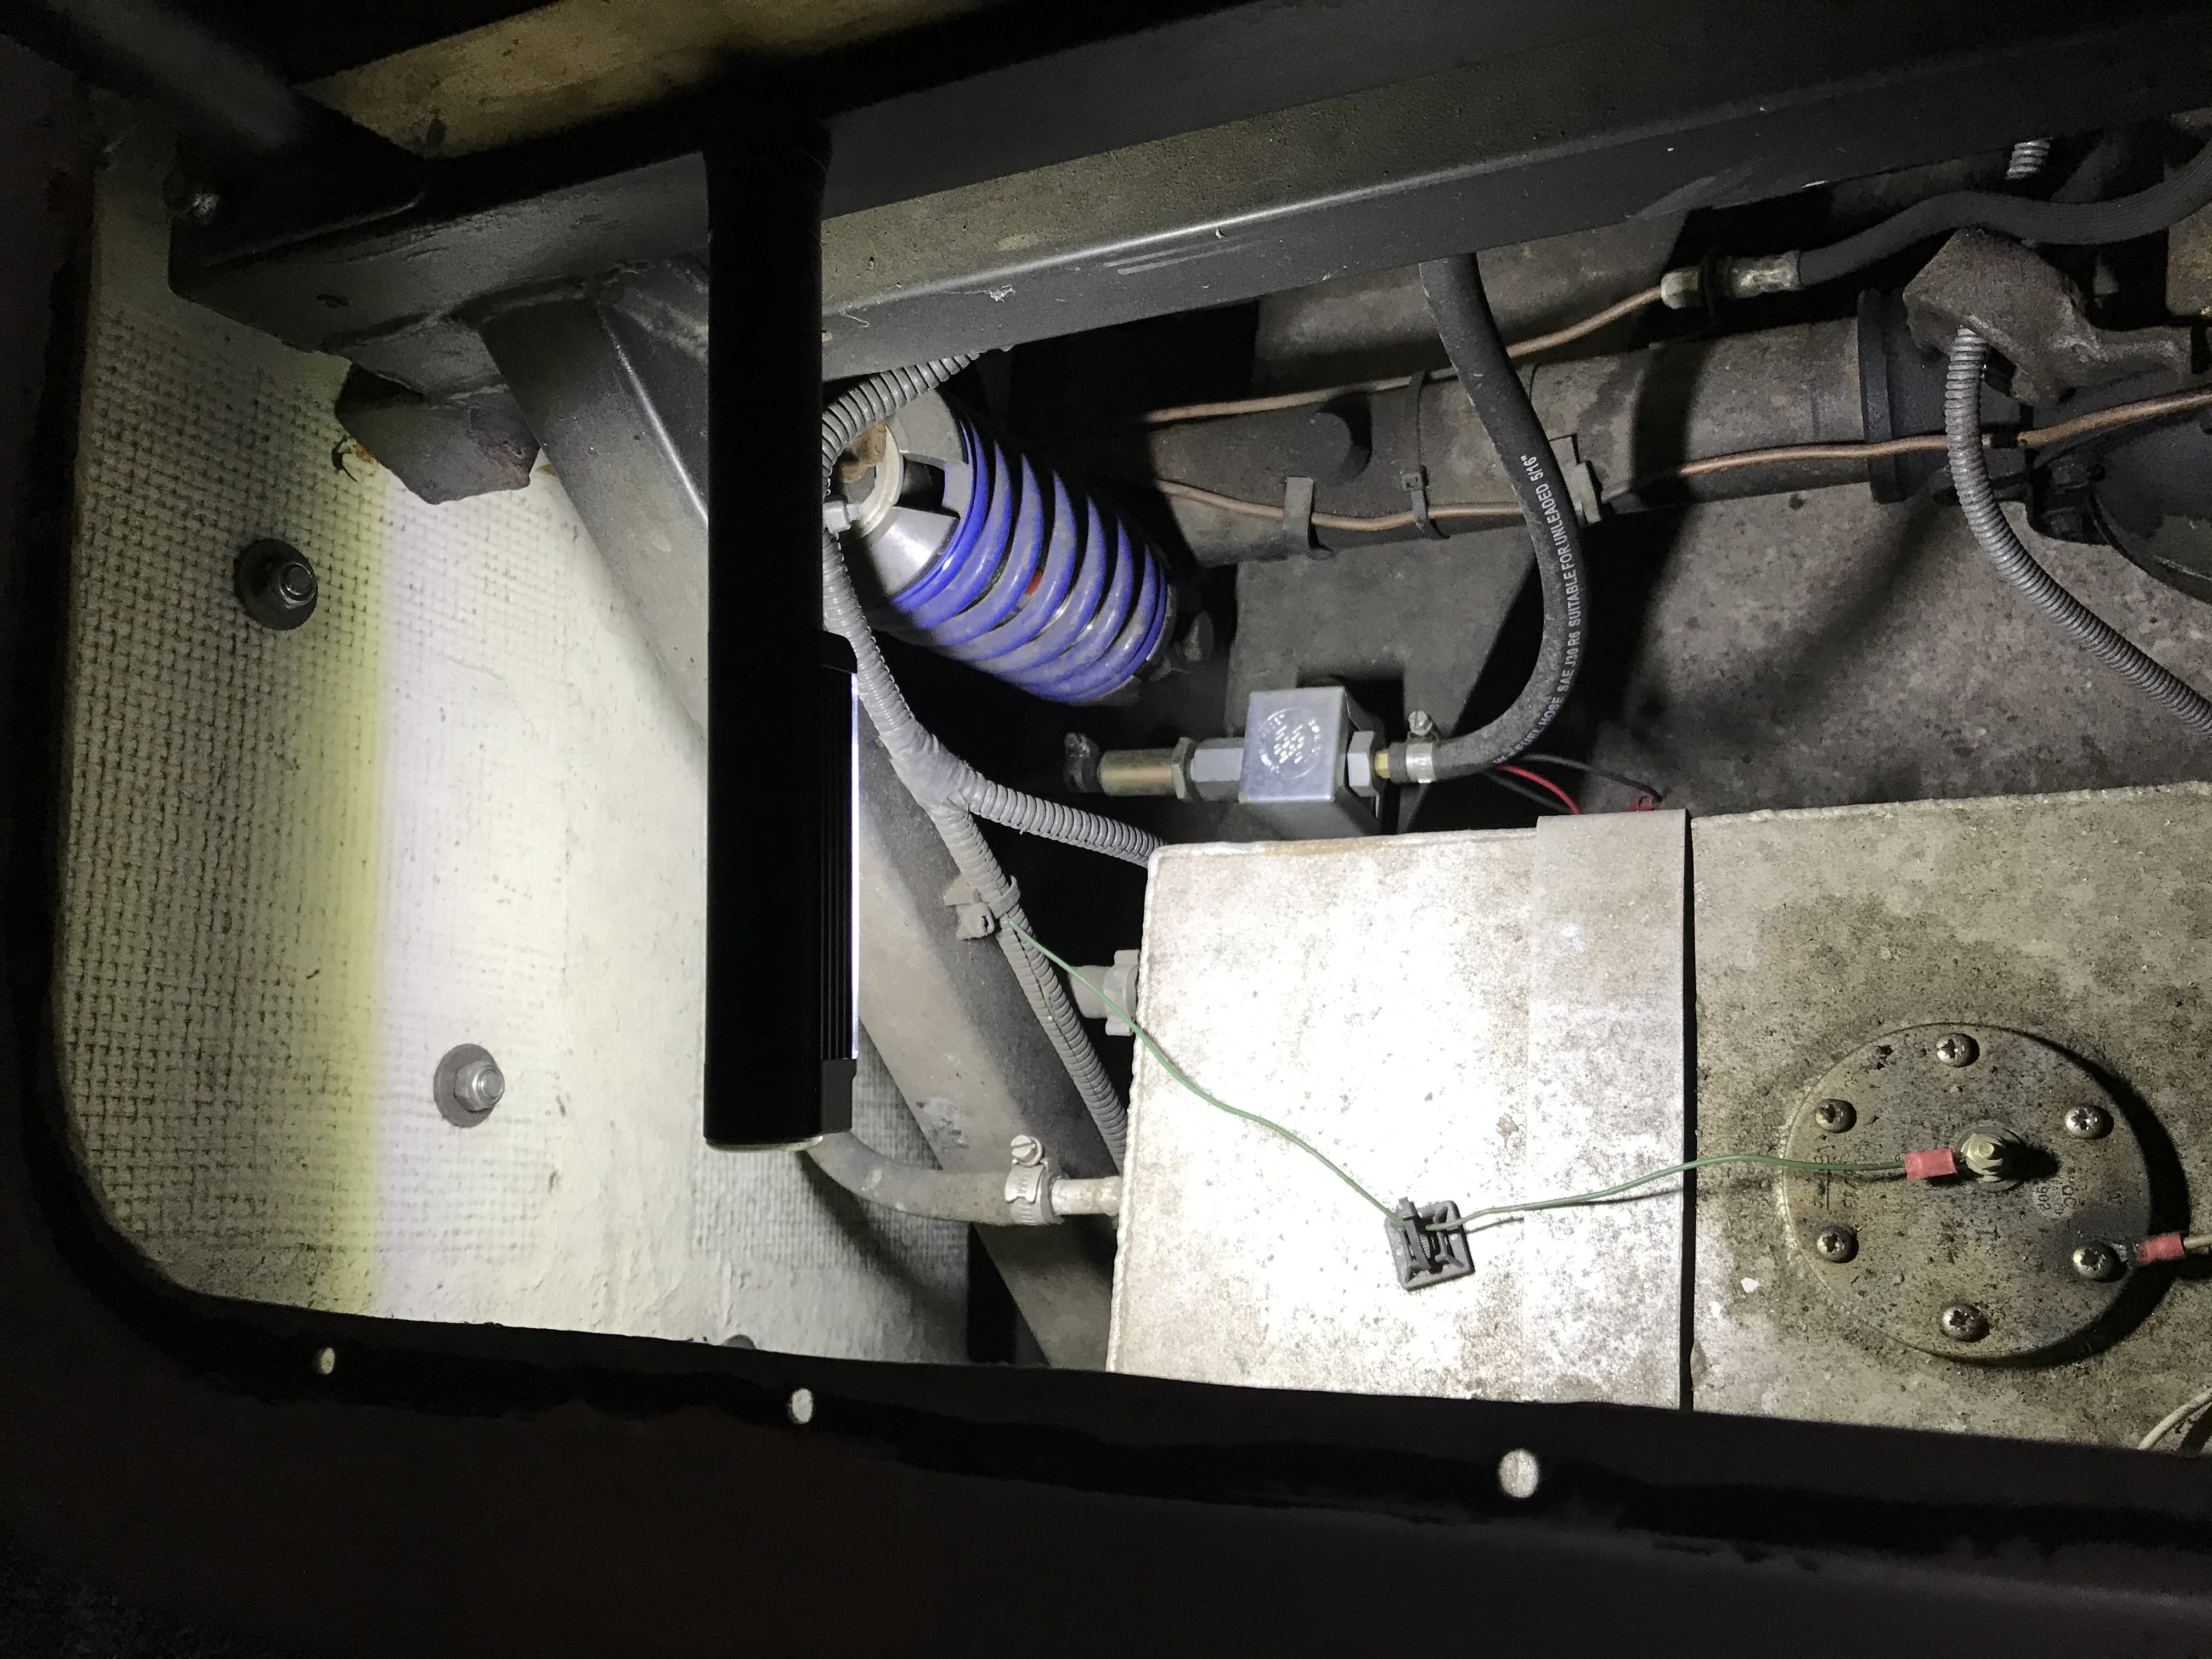
I spotted a series of numbers on the left rear spring. I did grab a picture of these but it seems to have corrupted. I’ll check again tomorrow but I seem to recall they were 8 inch, 2.25 ID and 180lb. The 180lb seems a little soft so I’ll check this and might want to change them.

I also manages to identify the brand of fuel sender and the inline fuel pump:

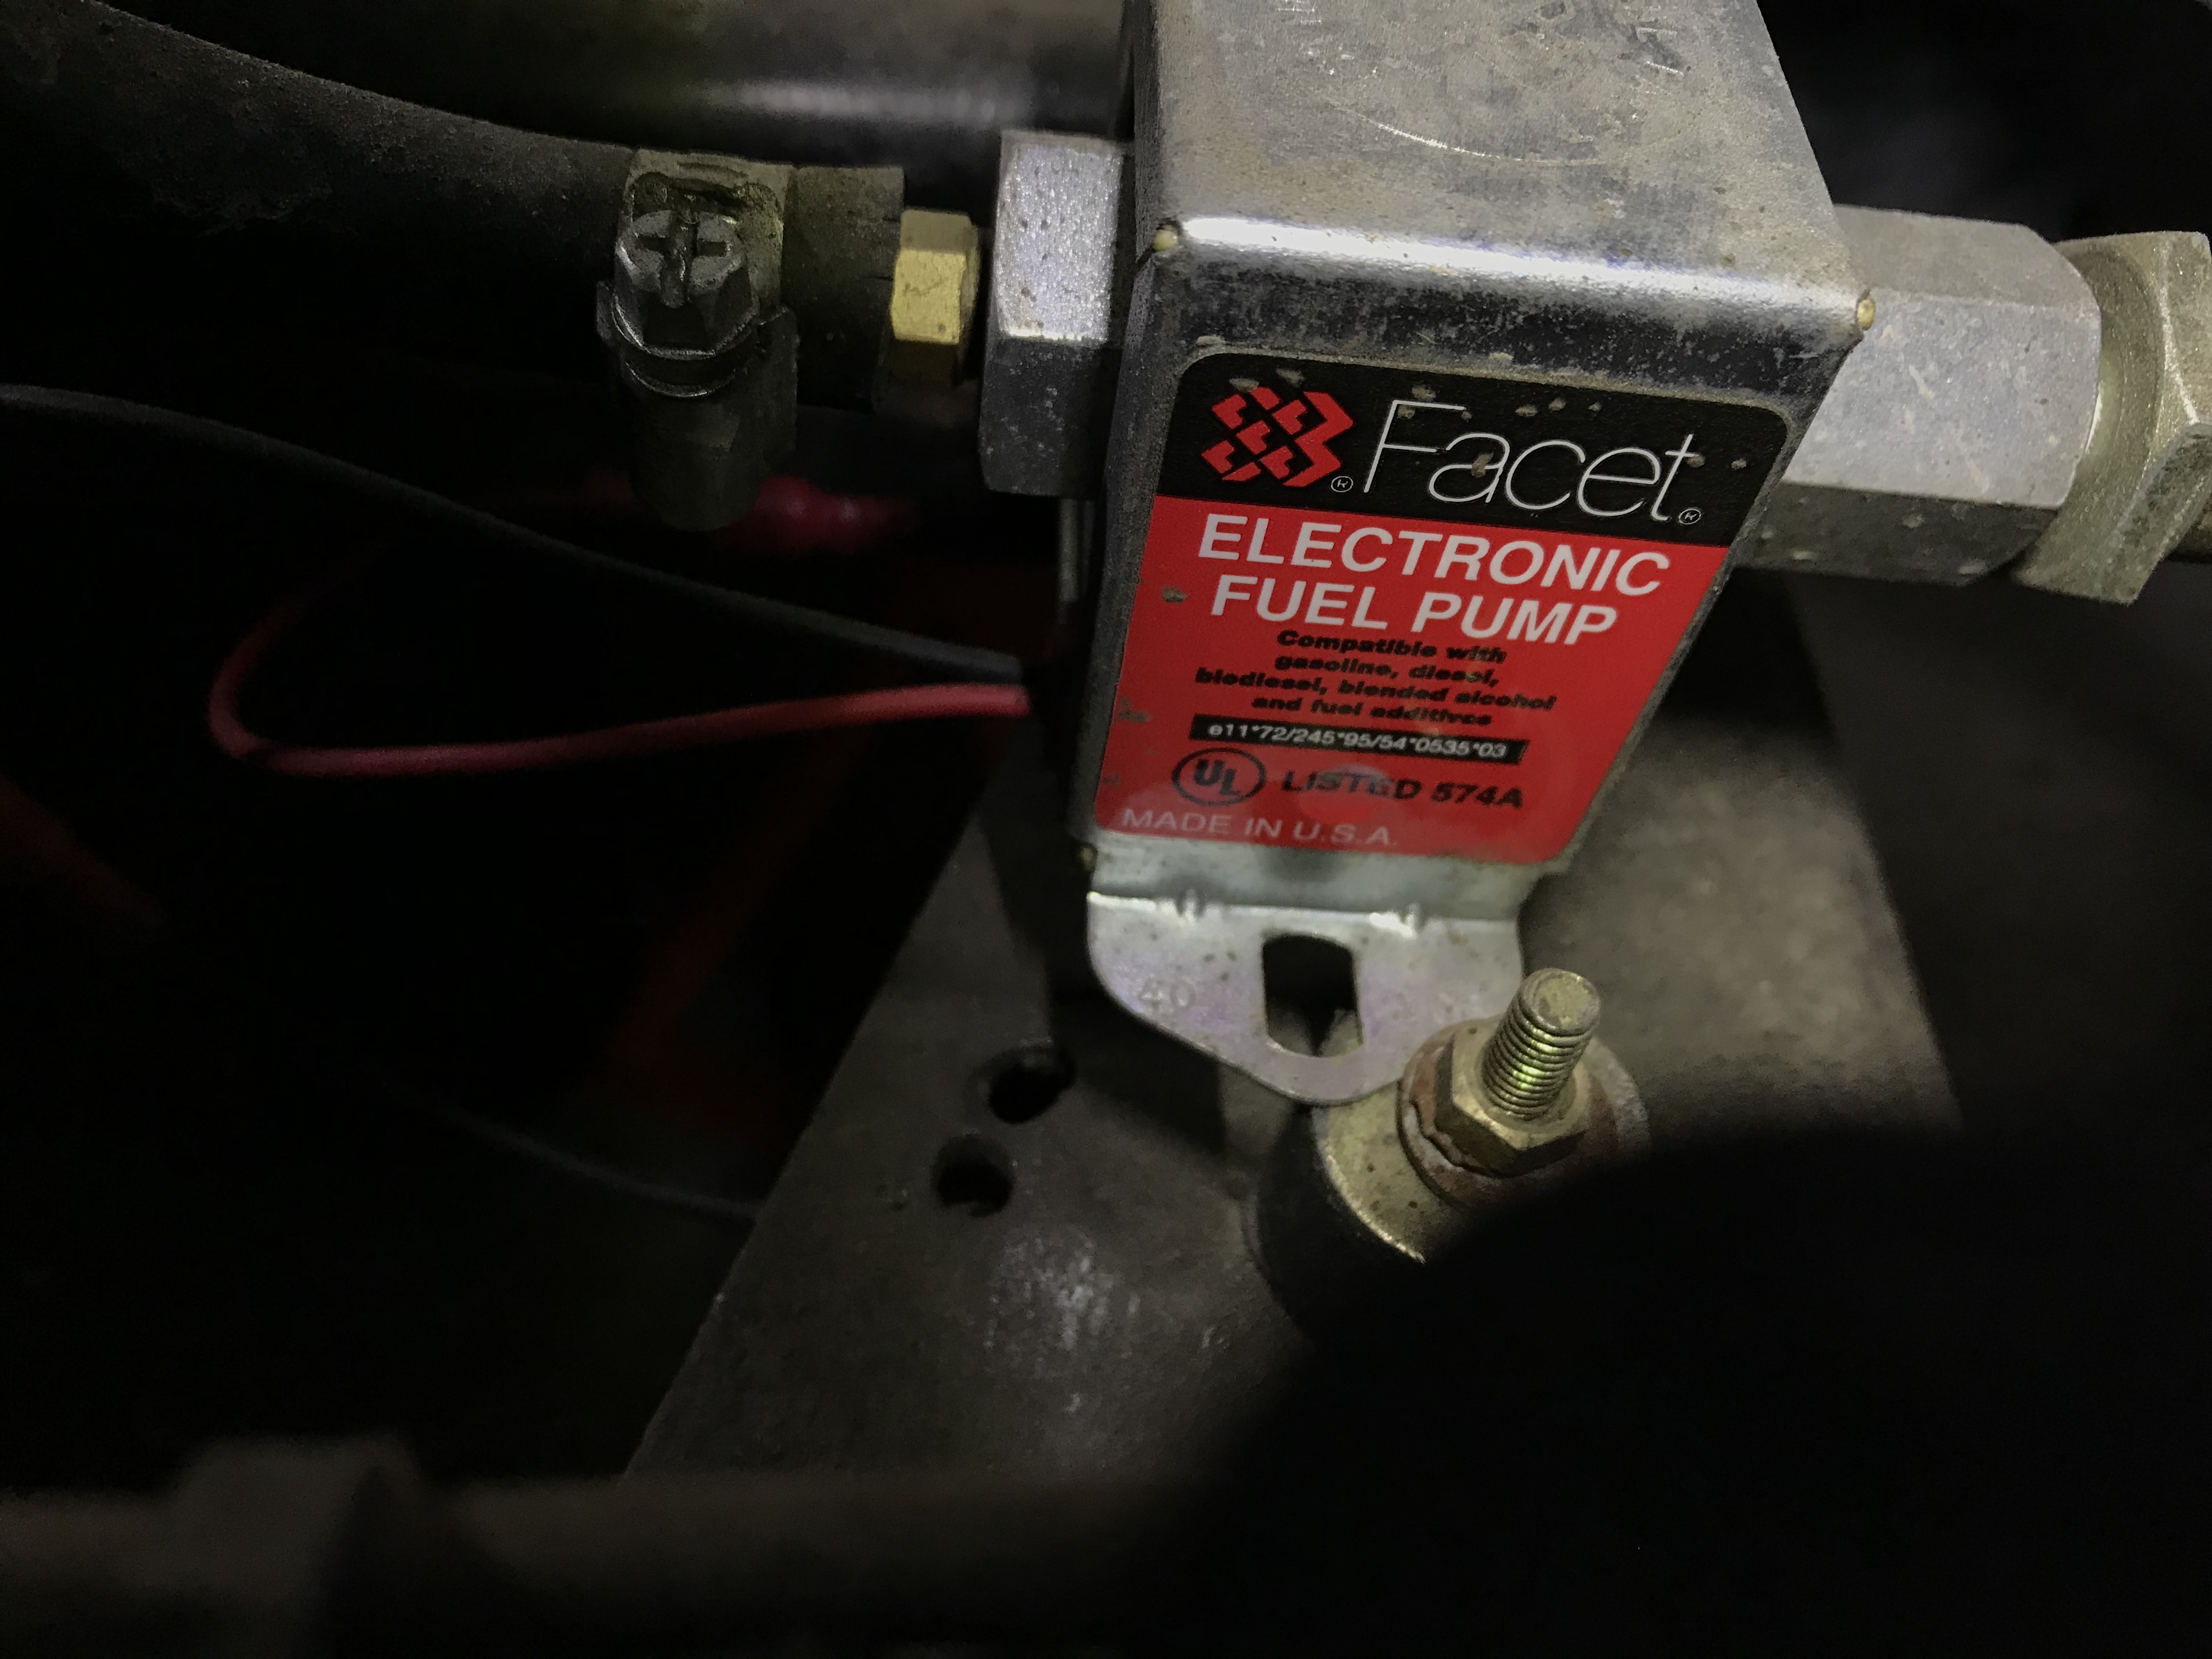
Looking at the image on the right when I head back to the garage tomorrow I’ll want to ensure that fuel pump is secure.

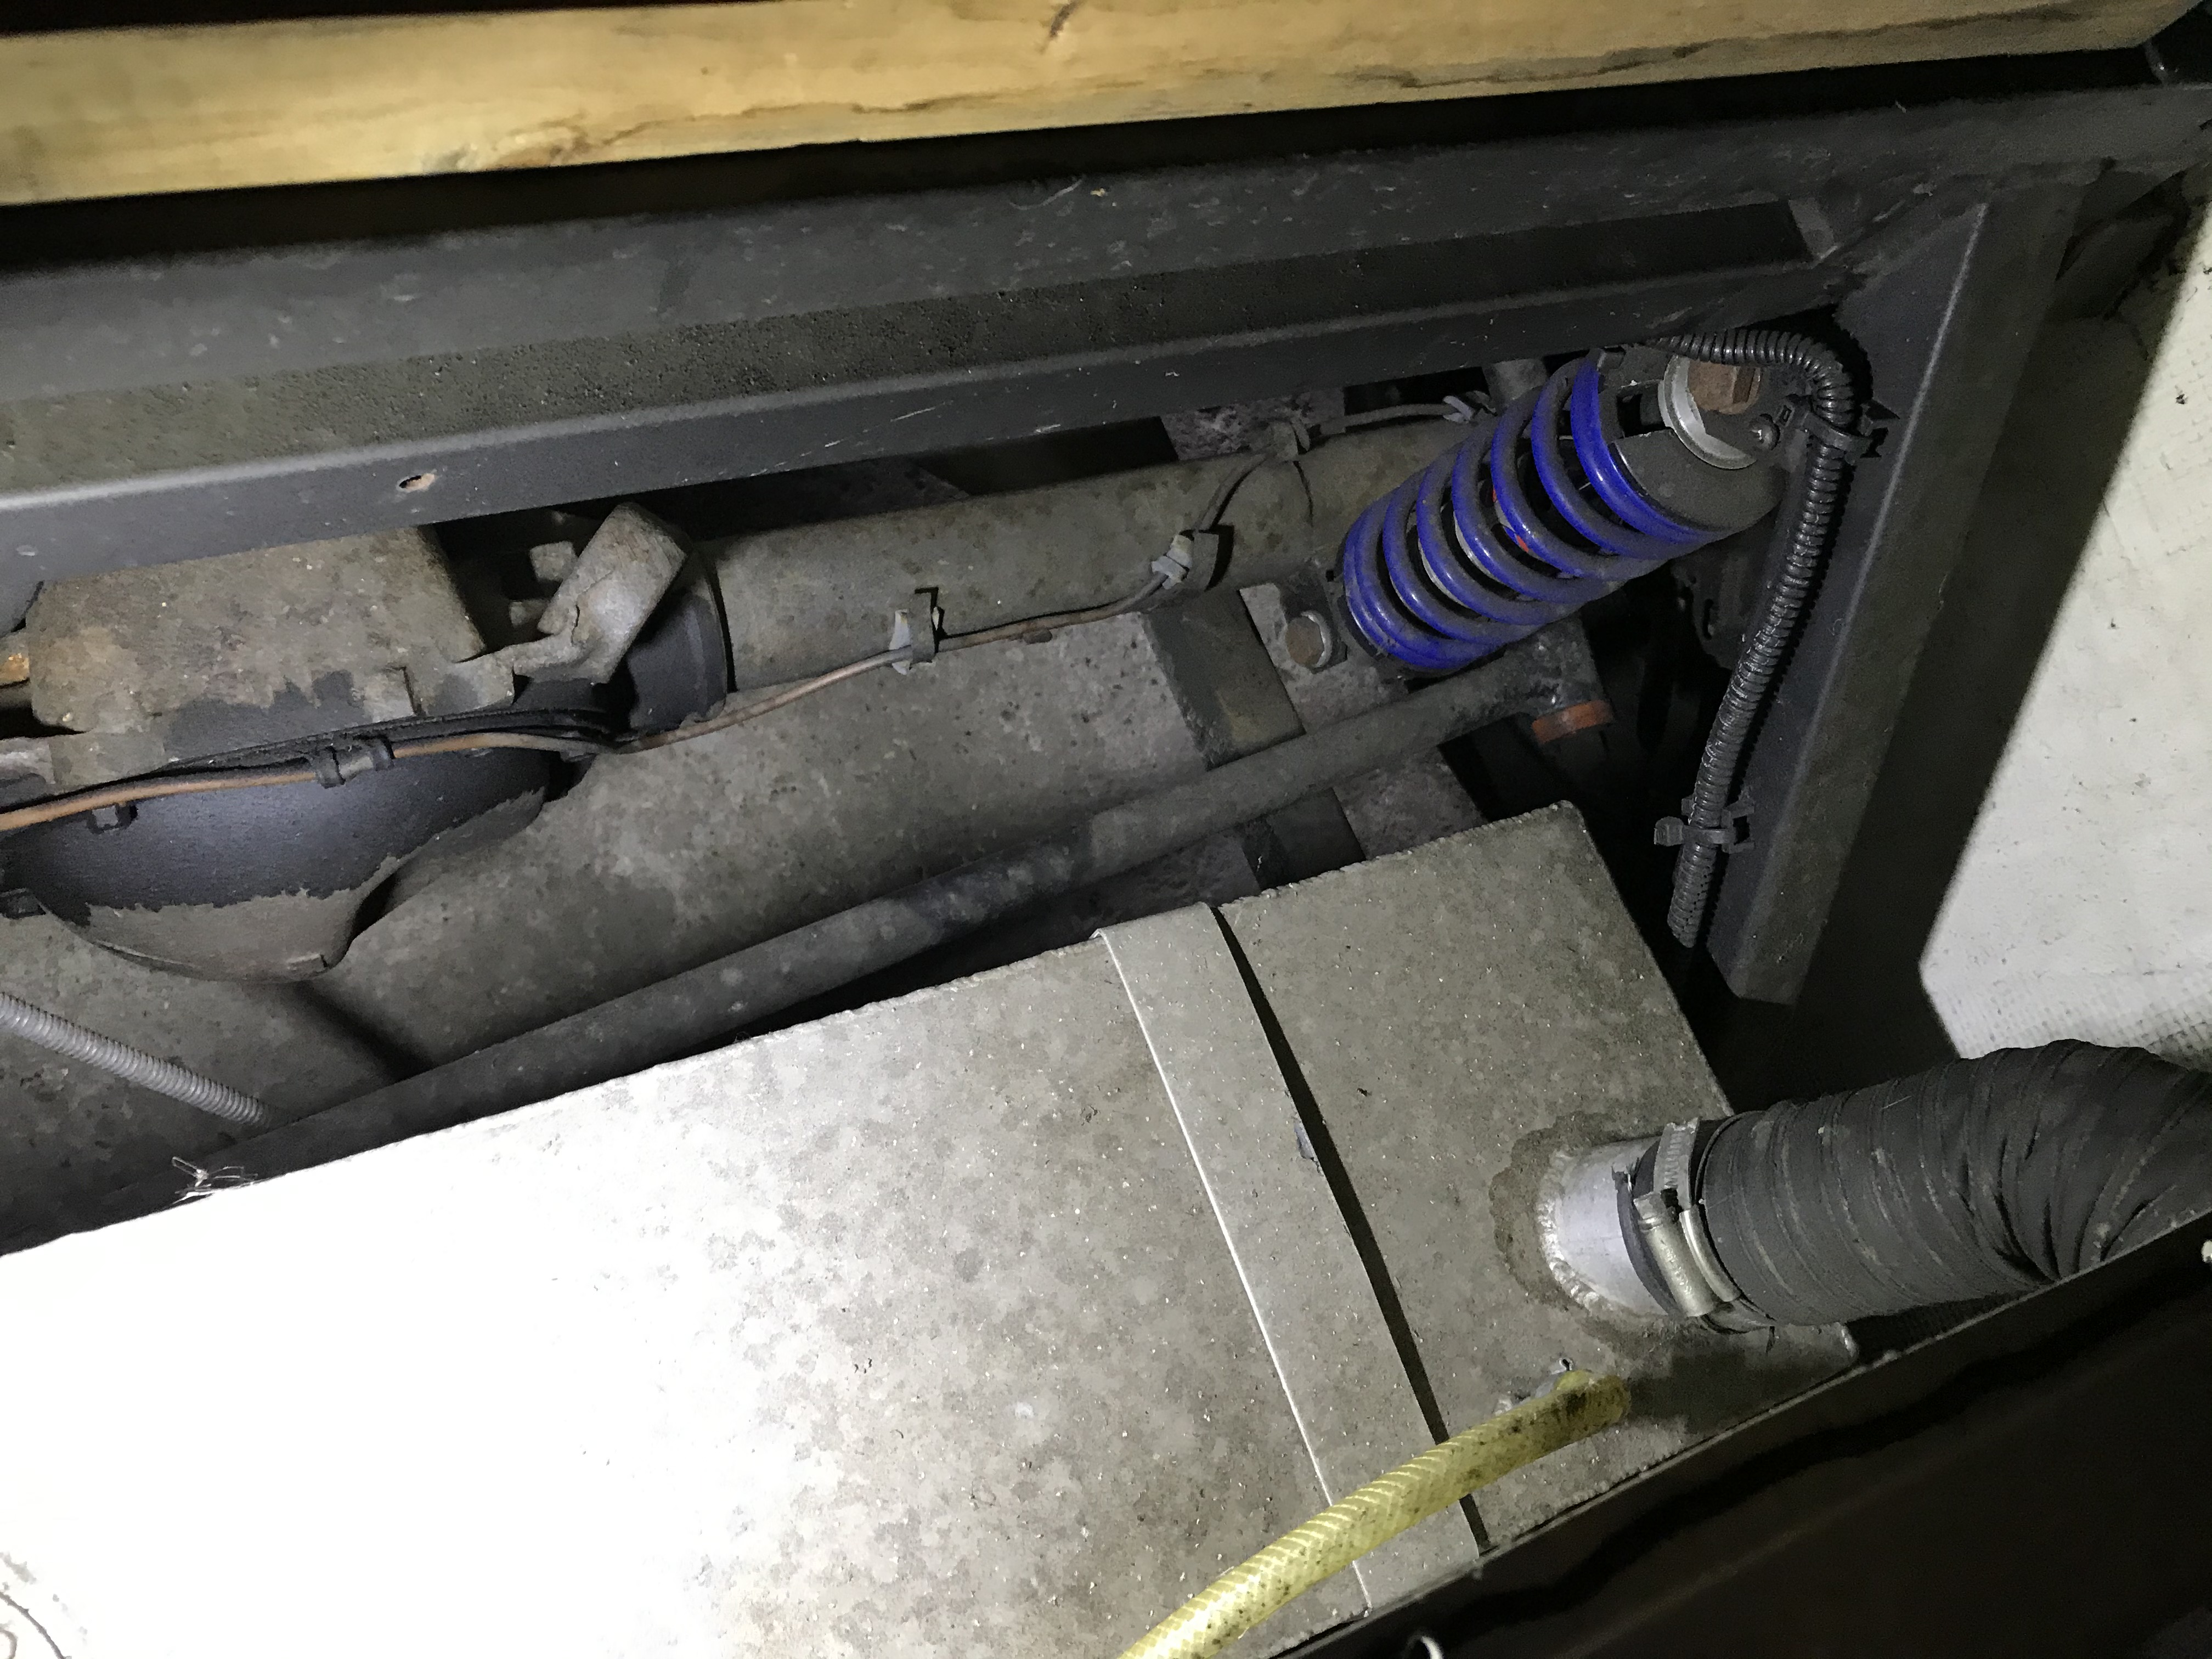
I got a good look at the leak on the differential. This was identified when I had the car checked over by a mechanic and is to be expected. I suspect the diff is over 30 years old:

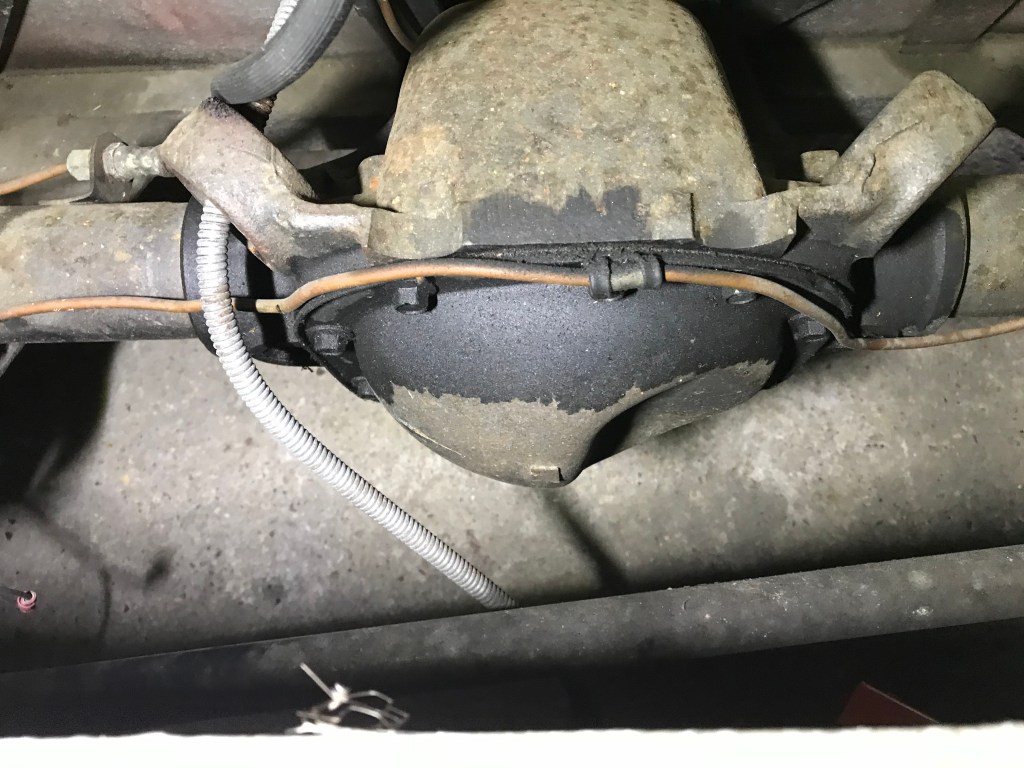
It looks worse than it is. Given this bit of the car certainly hasn’t been cleaned in the last 1,500 miles it really is only a small amount of oil. I’ll just need to keep an eye on the oil levels. At some point it might be a good idea to get the whole think reconditioned. I understand this would be one of the parts that would be hard to source if I had a failure.

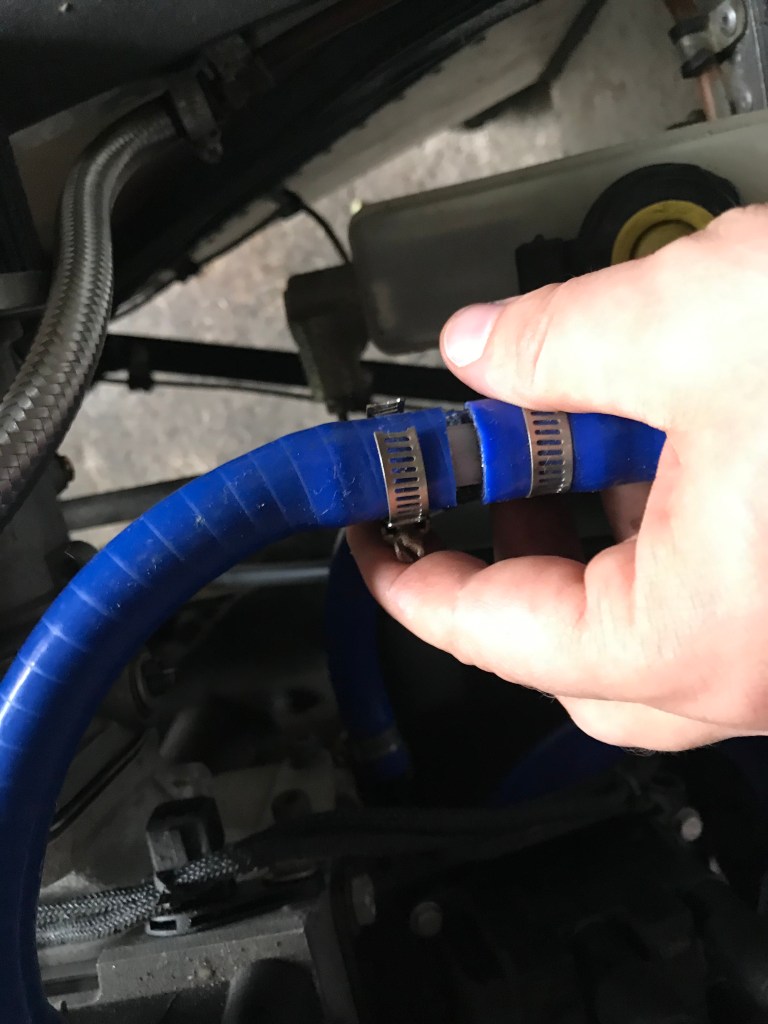
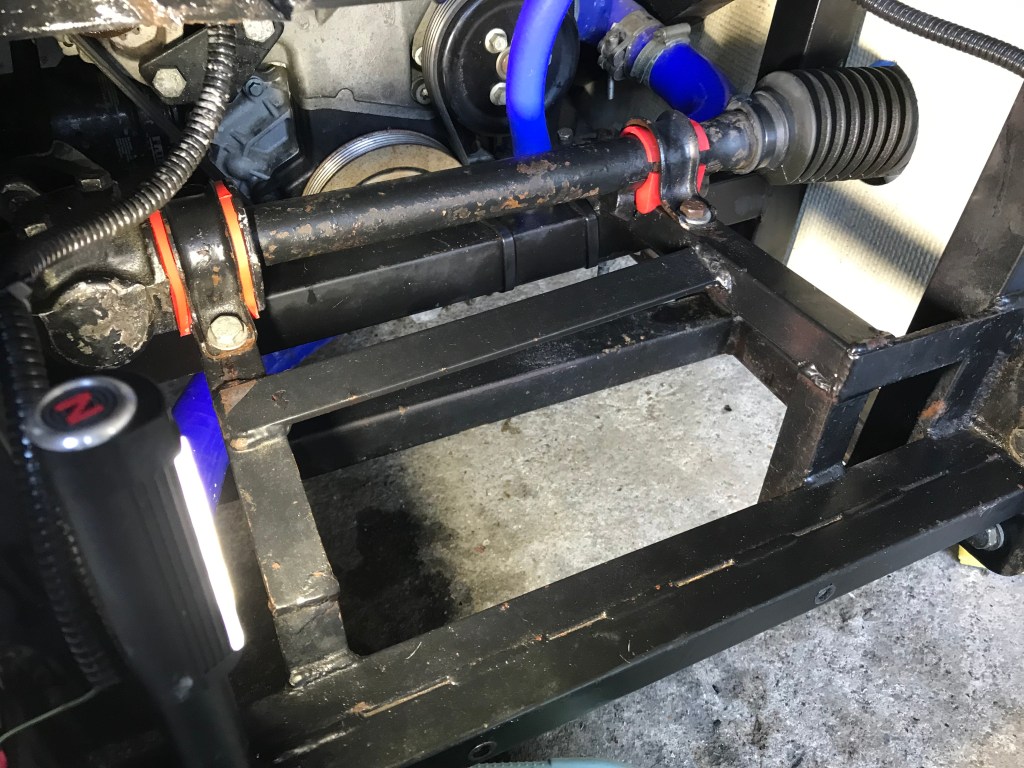
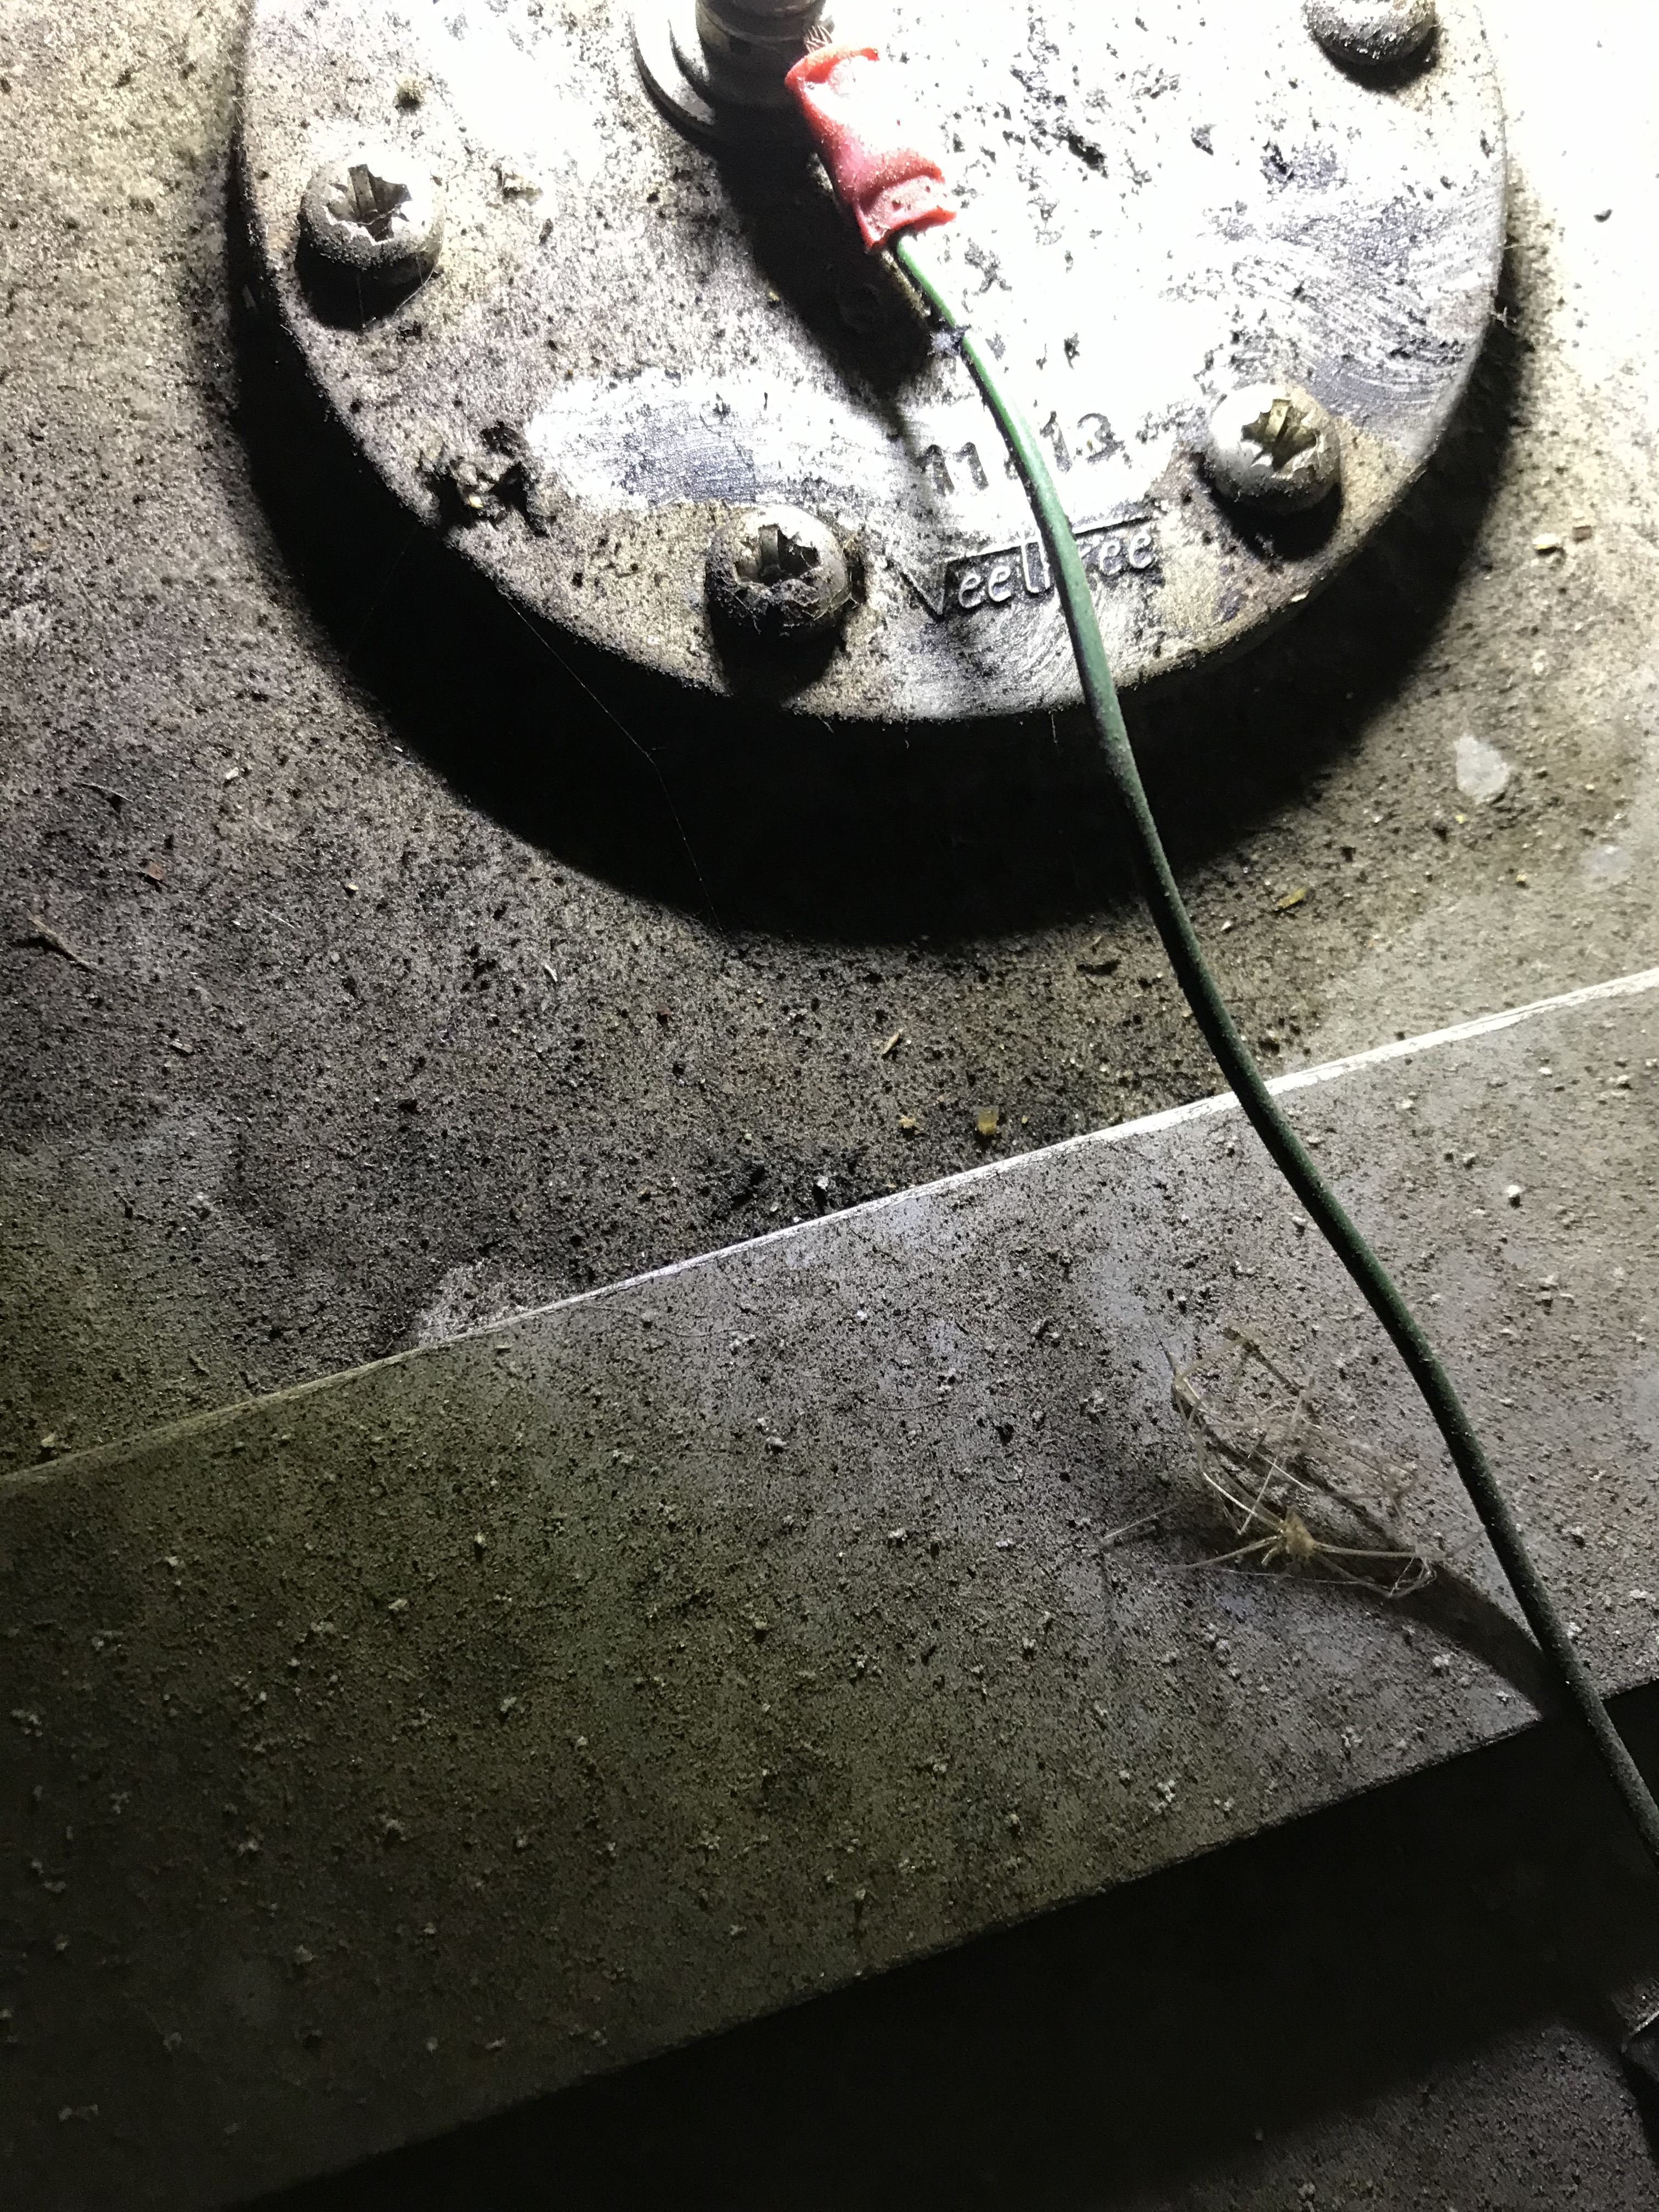
Finally I was running the engine up to temperature to get some oil circulating around it when I noticed that one of the hose clips is broken. A small part, but one that might lead to a problem if not replaced. You can see it bouncing around in this clip (I’m not sure why there is no sound!):

And here is a picture:

Back on the road

I’ve been a little quiet because I’ve been out of the country with work and enjoying the car. We’ve had a couple of dry(ish) weekends so I’ve been out and about. The camera is mounted and I grabbed video… it’s mainly me stuck in traffic as the battery ran out as I got some open roads!! Anyway, need to work on sorting out the audio as it is terrible.

Job done: Radiator

The new radiator is in and plumbed up. I’ve taken her out for a quick shake down and everything seems fine. Over the winter I want to add some type of rubber stop at the bottom of the radiator to stop it fouling on the chassis (being uber cautious!) and check to make sure the thermostat is working properly (the car might even be running a little cold!) but for now I’m happy to say this job is done. Here’s a little montage of picture of you car read the story here.

Cooling almost sorted

Learned a lot over the last week. If you’ve been reading the updates on the hot headed page then you’ll know after I installed the radiator and filled the coolant system the car wouldn’t start. It turned over but wouldn’t fire. Turns out the Koso Digital gauge I have has two resistance settings for the fuel display neither of which match my fuel tank/sensor setup. I now know that 1/2 a tank on the display is empty… I must have only just got home when driving the car last time!!

Anyway, she’s running again now:

A little bit of cleaning and another job…

Hopefully the radiator is arriving tomorrow so I can get another job ticked off and car taken out for a little bit of a shake down. I haven’t driven it since replacing the exhaust mounts and I don’t want to do too much without making sure it is all okay.

I popped down to the garage today to do a little bit more cleaning. It’s not the easiest since I don’t have water at the garage. A spray bottle with some detergent and a basin of clean water with a sponge. Seems to have done the trick though.

The nose cone and the bonnet were both pretty mucky after the motorway trip back and the coolant league. They look much better now.

When cleaning the nose cone though I spotted that the indicator was held together with insulation tape. Not ideal! I think I have found the same indicator and they aren’t expensive so I’ll replace them next week. I’ve added another job to the list here.

Finally, I mounted the GoPro style camera that my brother has lent me. Some cable tie innovation was needed (!) but I don’t think it is going anywhere. This is great because I should be able to put some video of the shake down trip up with a week or so.

A few bits and pieces

So popped down to the garage with a modest list of jobs to do. I’ve cleaned up the area behind the radiator as best I can. It certainly was a bit grubby from all of the leaked coolant and salt from the road.

I’ve had a good hunt around the engine for the casting mark. I finally found it on the edge of the bell housing. The code start EDDC which means I’m able to identify the block. I also pulled the codes from the carburettors too. I’ve updated the vehicle page with this new information.

Finally with a few sharp taps from a hammer, some heat from a mini blowtorch and a little bit of brute force I’ve freed the three nuts connecting the upper, offside ball joint to the wishbone. After the radiator is back in the ball join replacement and shock refurbs are the next big job. After that, we are ready to get to the track (if there is any weather left!).

The old radiator arrived at Custom Made Rads yesterday and Darren will be calling me on Monday to discuss the details. That leaves me with two weeks to tidy up some of the surface rust caused by stone chips that you see in the picture above. I’ll have to use a fair bit of elbow grease for this as my budget is spent and I don’t have a grinder (yet). Worth doing though as the radiator is off and I can easily access all the front of the chassis.

The post has arrived…

There were some goodies waiting for me when I arrived back from work today.

In no particular order:

  • Tiger supplied ball joint
  • Case for my action cam (if the attachment fits the roll bar then videos will follow)
  • Selection of bolt cap covers
  • Tiger supplied exhaust rubber exhaust mount (might use this one as it has nyloc nuts) rather than the other I fitted a few days ago
  • The V5C!

Not sure if I’m brave enough to replace the ball joint myself. I’ll probably give it a go… what could go wrong!