One more to the ambush?

One of the great things about owning a Tiger is the amazing community. It’s big enough to have all the answers, but small enough to care and feel a part of. I had the opportunity to give a little back yesterday when I met a top bloke called Bob who is thinking about buying himself a Tiger. He wasn’t sure what model, so wanted to come and have sit in one to see what it felt like. I was able to oblige and managed to the headlights back on so that I could take him out for a spin. the weather played ball but the traffic didn’t. We got to open her up a little bit but didn’t make it out to the country lanes.

Well Bob didn’t, after I’d dropped him off at his car I stuck £15 of fuel in the car and then went and burned it… massive smile on my face the whole way around.

So what’s the deal with the title of the post? Bob and I were trying to figure out what the collective noun for a group of Tigers is. Turns out it is either an ambush or a streak. Perfect! A group of Tigers parked up is an ambush and then when on the move a streak!

Here’s the finished headlights:

They are back on the car and fully working. They do need to be aligned properly (just need to get my head around the MOT jargon). The next task is something gentle and absolutely guaranteed to not put my MOT at risk. I’m going to see if I can the scratches out of the nose cone. There’s nothing major but there are some marks. I’ve already bought a few products and will get the page for this up and running soon.

Headlights, bleeding and smoke

Popped down to the garage today to turn the Tiger over for 5 minutes as it’s been a couple of weeks. I had a few bits and pieces I wanted to do too.

I have something of a puzzle. In the last month or so when the car first stars there is a significant amount of white smoke from the area of the manifold, down pipes and exhaust. This video captures it:

It only lasts for a couple of minutes and, once everything is warm, it stops:

I can think of two causes. As far as I am aware the exhaust construction is push fit and probably sealed with some kind of exhaust putty. When I fitted the new rubber mounts for the exhaust I had to jack up the exhaust. Maybe I cracked the putty. As the exhaust heats up it might be expanding and sealing the leak. it could be as something as simple as the exhaust wrap absorbing moisture and this evaporating as the exhaust heats up. I think the former is more likely given it looks more like smoke the steam.

I finally managed to get the radiator fully bled. It’s been quite stubborn! I was pleased with the trick I came up with too! Here’s a picture of the coolant hoses at the top of the engine and the coolant reservoir:

I undid the bleed screw on the radiator and unbolted they coolant reservoir. Normally the reservoir isn’t much higher than the top of the radiator. The narrower coolant hose on the left is a return from the thermostat. I undid this in order to be able to lift the reservoir higher. I then noticed that the plastic tube the hose had been on was perfectly placed for me to gently blow down. I screwed the cap on and did this and hey presto a coolant fountain out of the bleed valve!

Finally, the headlamps have really been bothering me. They have some big patches of rust:

One headlight came off no trouble:

On the other, the mushroom headed bolt that holds the head light together is already rounded. I’m going to pop to the garage tomorrow with my dremmel. I’ll try cutting a new slot for a flat headed screwdriver first. If that doesn’t work I’ll drill it out/cut it off. It’s only a few pence for a replacement bolt.

Splish Splash!

So I’m like a kid when I have a new toy. I have to play with it. We had some decent weather after a long period of rain. I’d planned a circuit of West Berkshire and my wife was navigating. We did get a little lost and we found an interesting water feature (watch all the videos with the sound off as I haven’t sorted the audio yet!):

In all I captured over two hours of footage. There were a few interesting moments other that didn’t involve water! First, the gentlemen in the inside in the following footage was encouraging me to pull away. I was happy to oblige (all with the speed limit of course!) but Stacey wasn’t expecting it and she lost her hat. This meant I was in trouble!

I also got a bit of footage of me opening up a little on the country roads. All perfectly within the speed limit…

We learned a few things from the trip. First is that although I love to play with my toys it’s a bit chilly in winter in an open car. Who’d of thought it! Second, cold roads, cold tyres and damp mean that she can be quite twitchy. I was a few minutes from home and blipped the throttle in a corner to test the grip levels. There weren’t any and she tried to right around on me. The battery had run out on the camera so my dented ego wasn’t captured on film. Probably safer to wait for the summer if I’m not on a track (where I can push the tyre to get heat). Finally. baseball caps are not suitable headwear!

Jobs done…

Okay so I’ve updated the brake and ball joint pages as both jobs are done! This is an important milestone as everything that would stop me from driving the car on a track is now addressed and the car should get through it’s MOT in April.

I’m planning to get out at the weekend (weather permitting) and get some miles covered. I’ve got a new microphone to record the sound and am putting the GoPro charging now!!

Time flies!

My word… over a month since I last posted! Work has been a bit busy and then I was away over Christmas so I’ve been concentrating on the car rather than the posting.

The hardware sent through with the kit was too long and I needed some spacers to get the callipers central on the discs. I then had a drama undoing the flare nuts (mainly because I didn’t know what one was until I started having a problem with it!). I then got my left and rights mixed up and rounded one of the cap head bolts. Finally I inserted one of the banjo bolts the wrong way around when attaching the braided brake host to the calliper causing a slow leak. Anyway, I now have the front upgrade kit aligned and installed. It has been a little bit of a journey (!) and I’ll update the brake page in the next few days.

I’ve had the car out for a test drive and it goes and stops. According to the instructions it will take a few 100 miles to bed in the brakes.

I’ve also ordered and received a ball joint press. I’ve had a quick go at removing the ball joint that has the split gaiter. As with everything it’s quite stuck in there (the section that inserts in the knuckle not the section that’s pressed in). I didn’t have a lump hammer at my garage so next time I head down I’ll see if I can add a little more persuasion!

Test fitted…

So this shouldn’t have taken me the four hours that it did! Including a trip to pick up some new hex sockets. However, here we are:

I’m much clearer on how it all goes together and the bonus is that Tiger have already modified the brake pads to fit.

None of the old brake assembly is reused. I was quite confused at one point thinking I was going to have figment issues but the s when I believe the new calliper fixed to the old calliper bracket. It doesn’t.

I’ll update the braking bad page with a bit more detail of the process and how I ended up taking more of the car than I anticipated!

Test fitting…

So the plan today is to head down to the garage, remove the old brake callipers and test fit the new Tiger branded, 4 pot, fixed brake callipers. I’ve read the instructions a number of times and I have to be honest they don’t make much sense to me! I suspect I’ll be able to figure it out with the car in front of me.

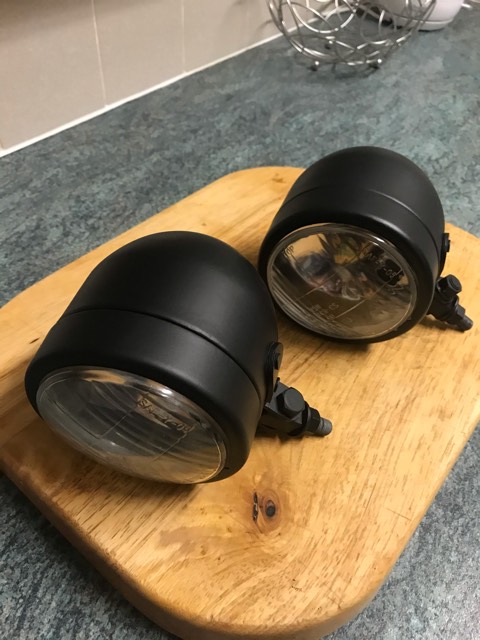
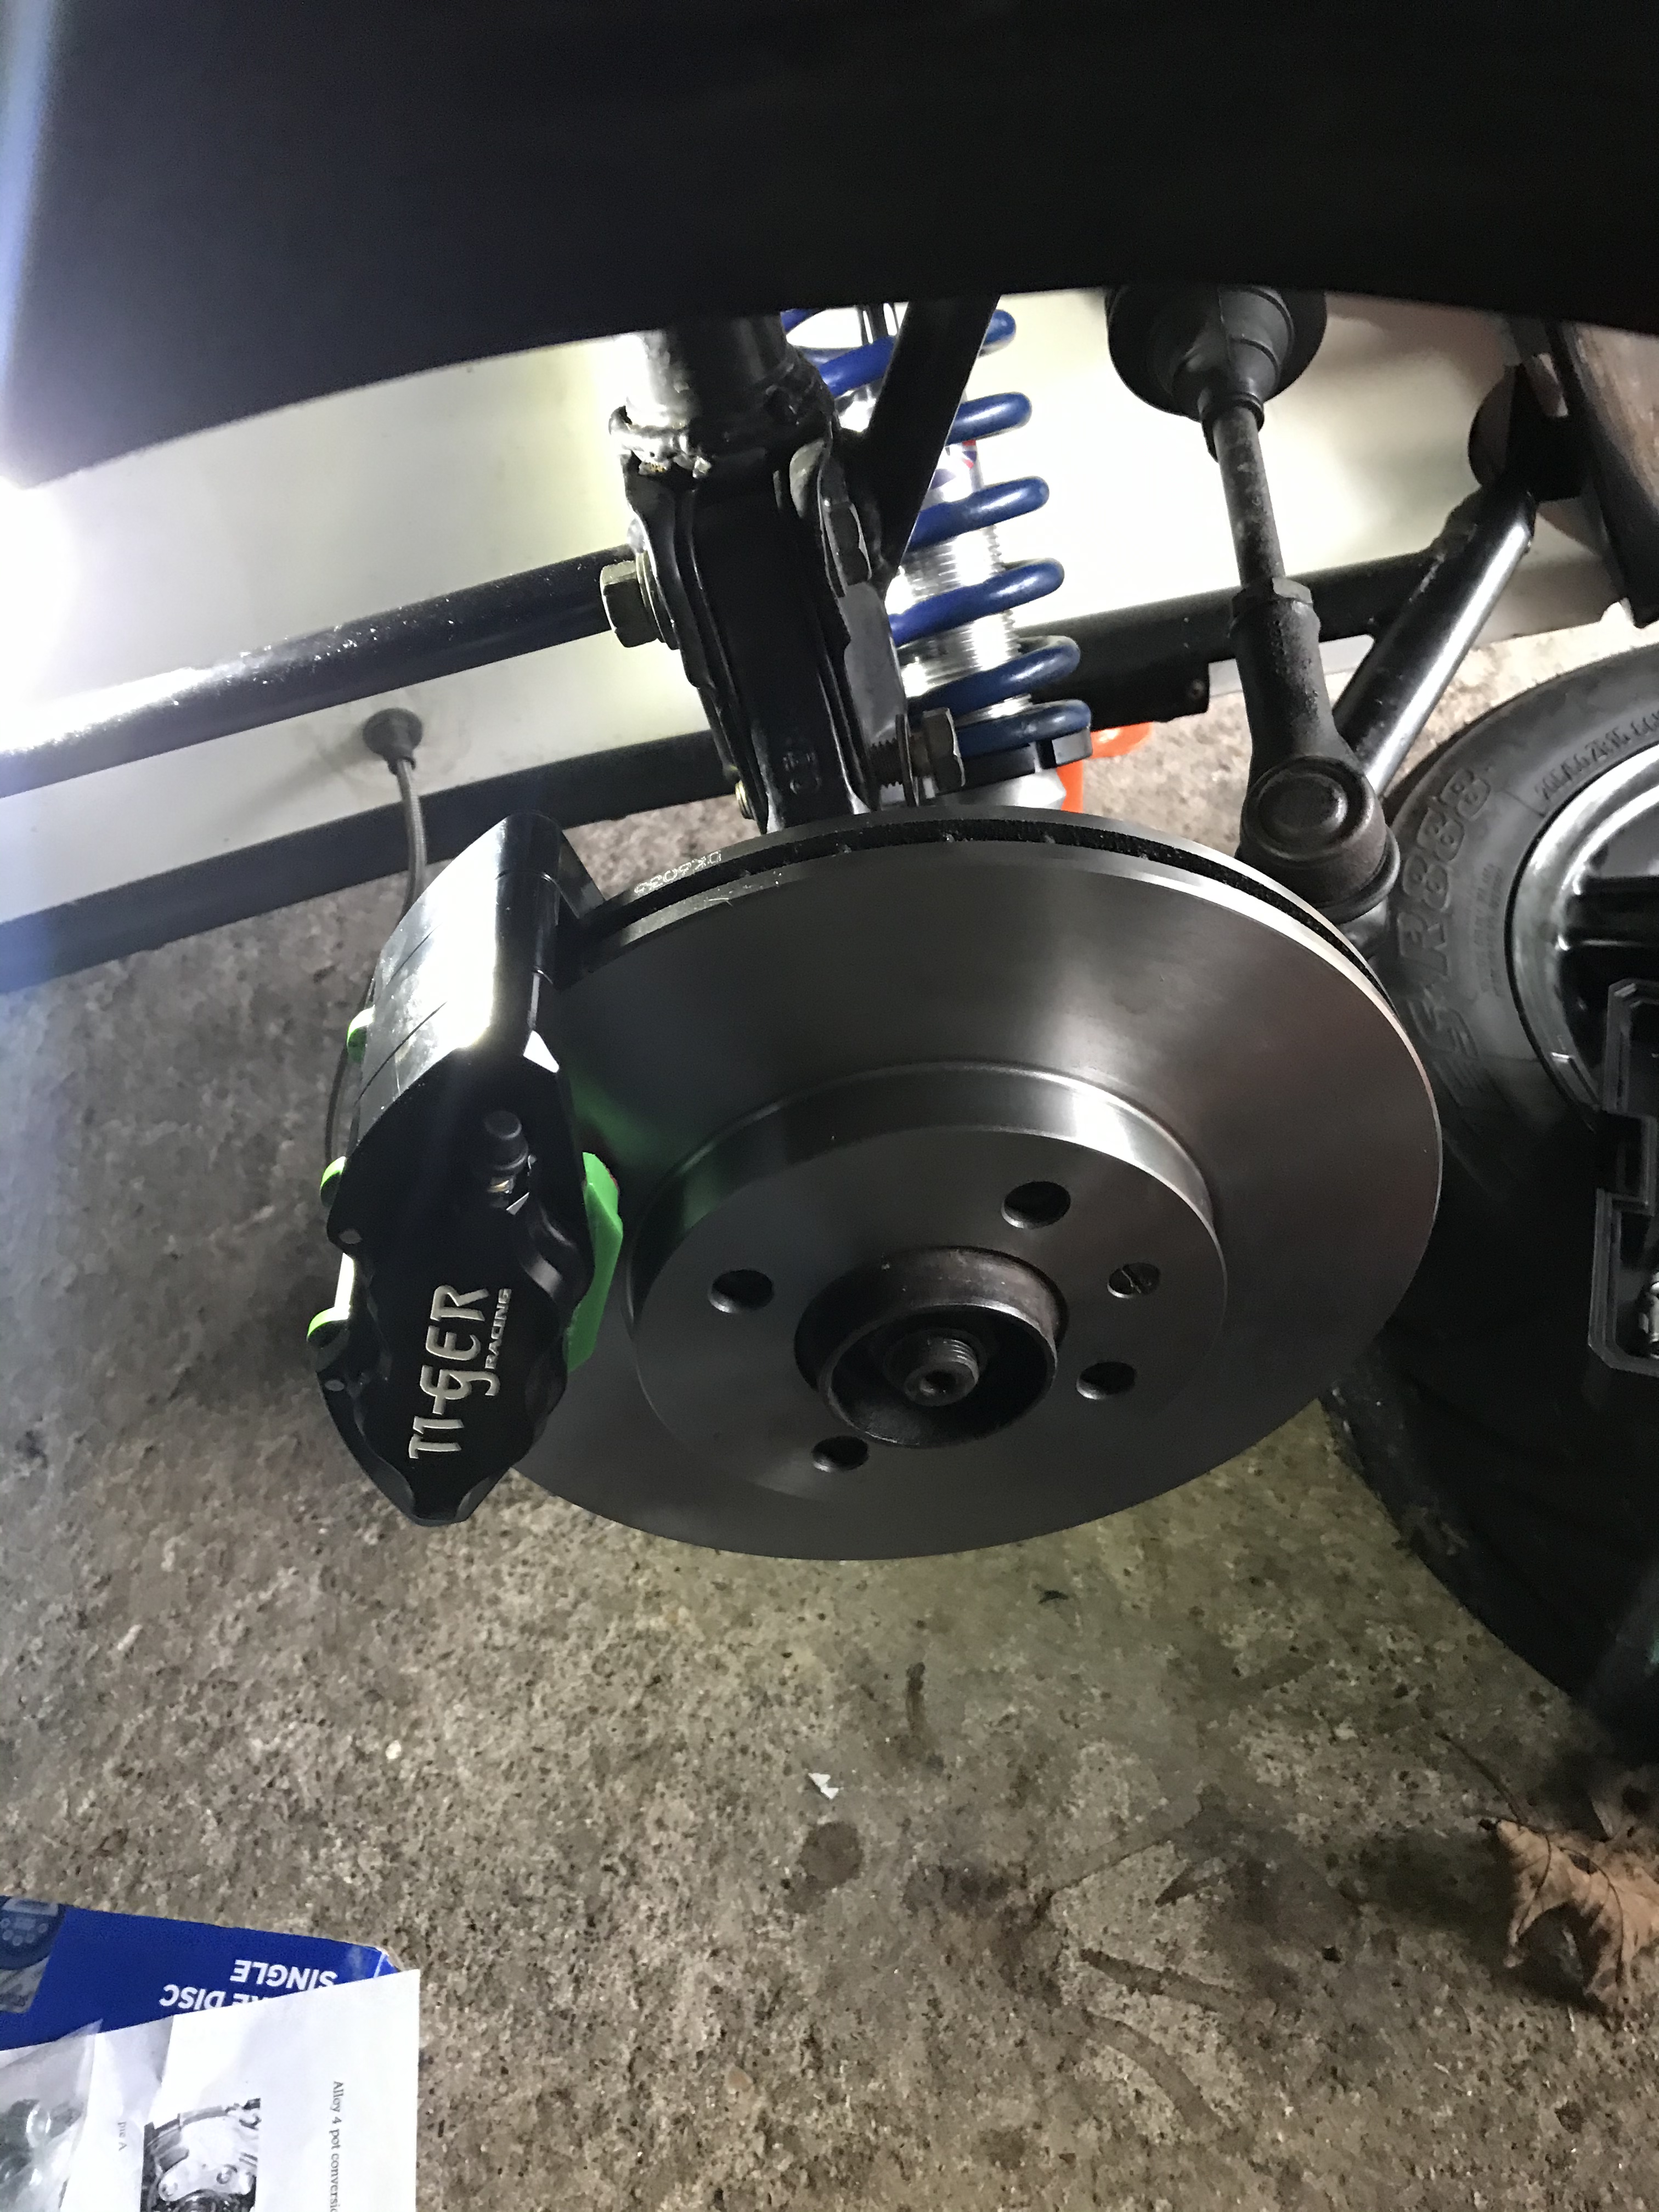
Here’s what is getting fitted:

There’s a couple of things making me a little nervous. First, these are fixed brake callipers and therefore there is no calliper guide pin and they need to be mounted centrally to the disc. I don’t have the tools for measure this properly. Second, the instructions talk about “removing some metal and pad” to make the pad fit. I don’t have an angle grinder! I do have a file but this won’t be practical unless it is a very small amount of material.

Other than that I think it should be quite straight forward. Remove the old disc and attach the new. Then, using the mounting plate, attach the new callipers to the calliper bracket. I can change the alignment relative to the disc by using the washers (all the hardware is provided by Tiger). Once this is mocked up I’ll add the brake pads.

The brake pads are EPC green stuff. I’ll be interested to feel the different in performance. I was initially tempted to buy EPC yellow stuff but the feedback on the forums is that green stuff is plenty sufficient and yellow is probably a step too far with such a light car.

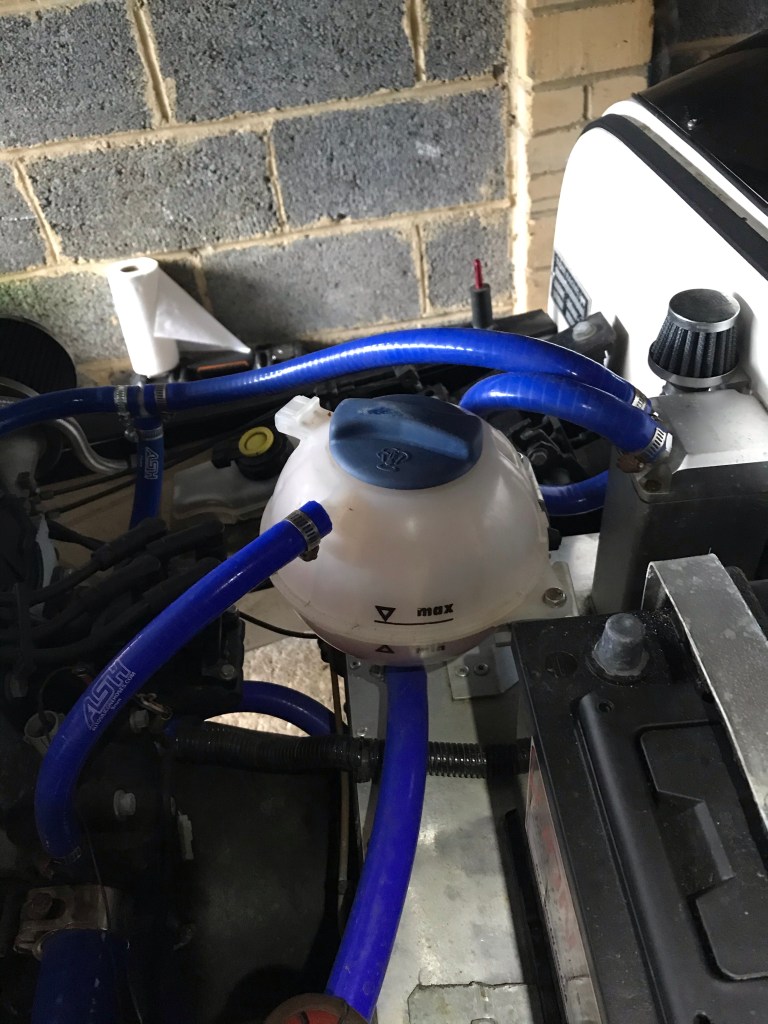
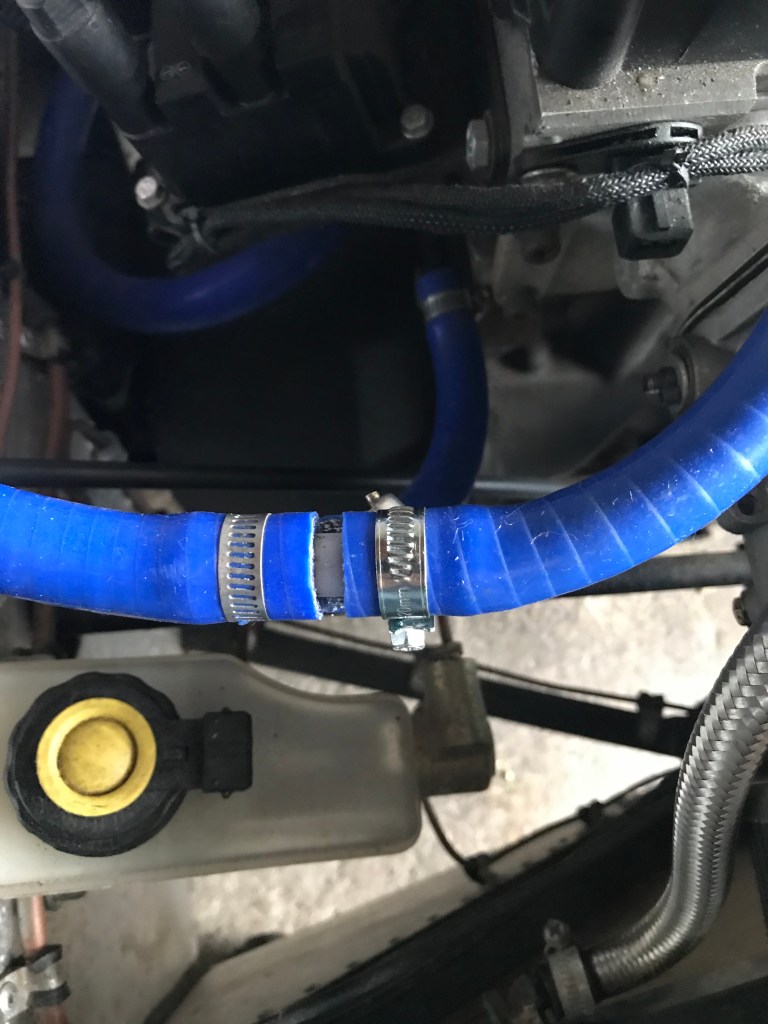
I don’t plan on fully removing the old callipers today. I’ll try and cable tie them out of the way somewhere as I don’t want to remove the brake line yet. I’m leaving that until next weekend. A couple of reasons for this. First, I’m not sure what type of brake fluid is in the car at the moment. I’m going to pull a drop out of the reservoir and see if it is miscible with water (DOT 3, 4 and 5.1 are miscible and DOT 5 isn’t). Secondly, I am a Warden at a Hall of Residence and I’m on call this weekend. I don’t want to get called out to help a student when I’m in the middle of any activity involving fluids! Most call outs come in the evening or night time but better safe than sorry!

Once I’ve test fit the new parts I’m going to strip the whole lot back down again and remove the calliper bracket too. I don’t yet have the silicone based grease (it’s on its way) to use as an antiseize between the disc and hub and between the disc and wheel so I can’t do the final fit. It took me forever and a day to research what I should be using here. I don’t want any rust welding going on. It seems most UK mechanics go with copper grease. I’ve decided to go with a silicone-based high heat grease (Permatex 24129 Silicone Extreme Brake Parts Lubricant).

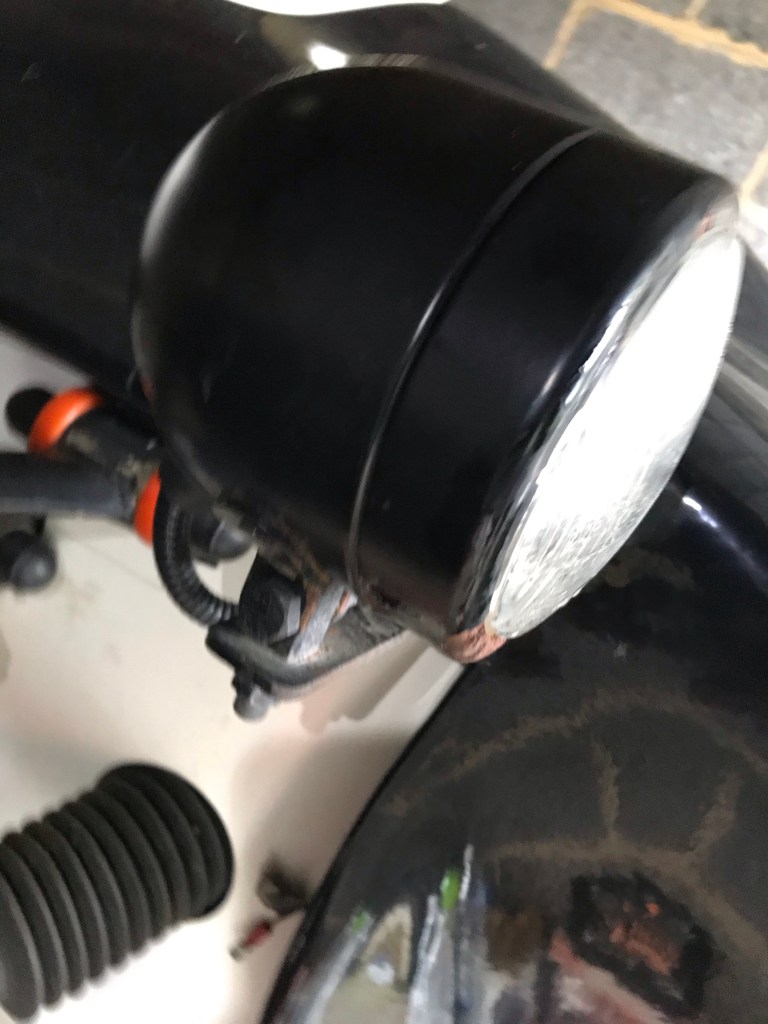
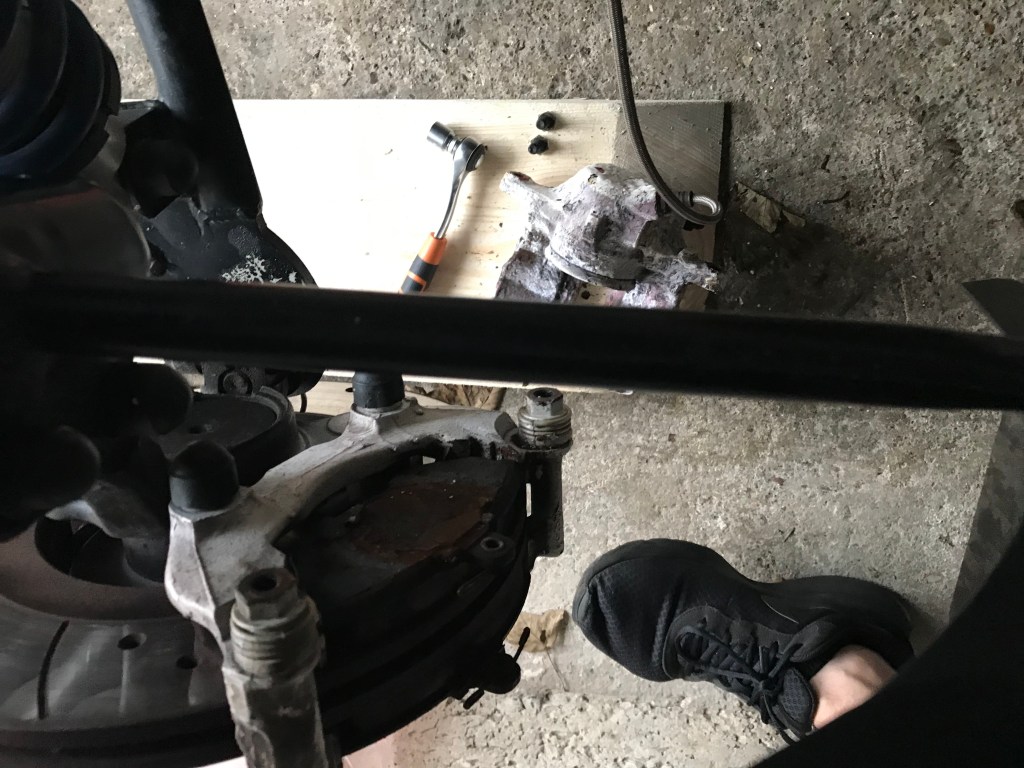
The current paint on the calliper bracket is as bad as the paint on the calliper:

I’m going to take it all back down to bare metal and spray with a heat resistance matt black paint. I’m going to paint the mounting/conversion plate supplied by Tiger too. I should be able to get that done today.

I’m planning to make a bit of a project out of reconditioning the old callipers. I’m interested to see how it all works and I suspect there is some value in them. They are either Golf Mk1 Gti or Golf Mk 2. Whichever, these parts are not that easy to get hold of.

First upgrade…

So the post man has been and this is what he left:

It’s the 4 pot, Tiger-branded, Hi Spec front brake upgrade kit! Came really well packed from Tiger with lots of instructions.

I’ll probably strip the old brakes this weekend but leave the callipers connected to the brake lines. I’ll test this new stuff and then fully install it next weekend.

Feels great to be upgrading rather than fixing 🙂

Shaking her down

The weather was nice so we took the opportunity to go out for a shake down run.

It was a simple enough job now to get everything back on the car (although you wouldn’t tell from my face!):

I had some help getting the wheels back on:

We got her filled up with fuel:

We drove for 5 minutes and then I stopped to check everything looked okay which it did. She goes, turns and stops with nothing falling off! the new suspension feels great! Like an idiot I didn’t hit record properly on the GoPro. My wife did take a view iPhone videos that show how much fun we were having 🙂

Two jobs finished and another close…

I was down at the garage again today. The weather has really turned and it was pretty chilly! I managed to get two jobs finished up. One small and one bigger.

I replaced the dodgy hose clip identified in the last post:

A simple job but one that left undone could have consequences. I should check all of the other hose clips too. If one has reached the end of it serviceable live then other might be close.

The bigger job was the suspension. After a bit of a fight to get the spring back onto the shocks everything is back on the car and I can tick this job off. Hoping to get out for a shake down run tomorrow. I doubt the paint on the spraying I’m doing will be dry enough though.

That’s a seamless link into the job I’ve moved on. Last weekend I got the rust cleaned off the front most cross member and two coats of primer down. Today I got the first top coat down. The weather is so cold I’m going to give it overnight to dry.

A bit frustratingly I was hoping to take off, or at least explore, the upper ball joint that needs replacing. However, the one bolt that holds the bottom in (and is orientated horizontally) will not budge. I’ve hit it, heated it and lubricated it to no avail! I think this will be one for a proper mechanic!

(I was so busy today I forgot to take pictures! I’ll update the post tomorrow with some eye candy…)